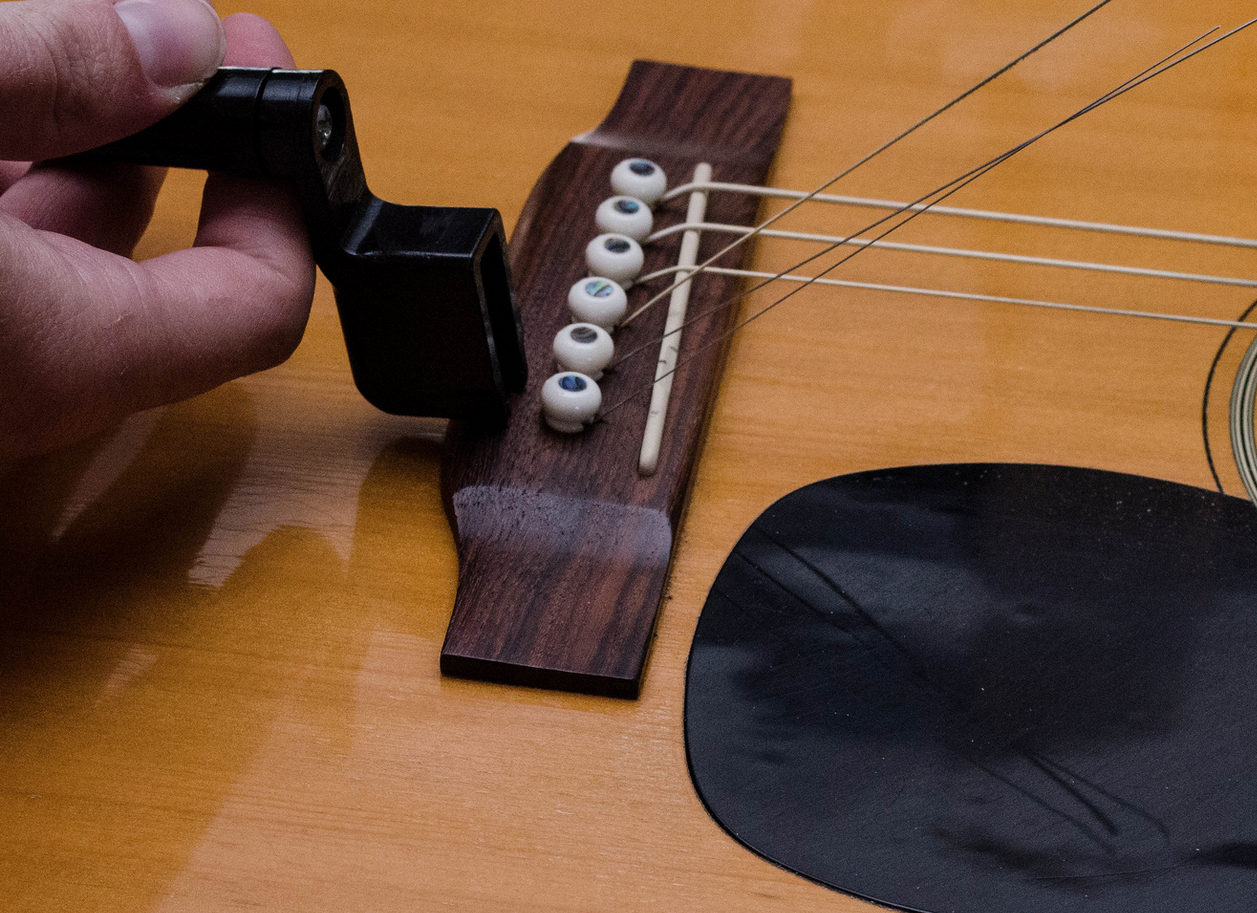
We are ready to put on a new string. What you're going to do, is you're going to take the packaging here, and on the back of all these various types of strings, is some information about the strings inside. It's going to list the number for the string, it's the 1
st string, the 2
nd string, and sometimes it will be color coded. For example, the 6
th string has a part of the string that's green, or gold, or what not. In this case, on this box of string, it actually tells me the size of the string. The 5
th string is 0.042 inches. I am going to go in, and look through my strings. Sometimes they are all packaged together. That's usually when the color coding thing is important. Now that I've found the right string, because it says 0.042, and that corresponds to the 5
th string on the back of the box, I am going to pull that string out.
Right away what you're going to notice, is that one end has a little metal ball on it. I am going to loosen the string up, and this ball is going to go in the hole on the
Bridge. I'm going to grab that
Bridge Pin. When I look at the bridge pin there is a groove in it. What you want to do is that groove should point towards the
Nut. I am going to hold the bridge pin in one hand, and I am going to grab the string close to the ball, and I am going to feed the ball into the hole, about an inch or so. Then, I am going to take this bridge pin with the groove facing towards the nut, and put it in there. I am going to gently push it down, not very hard, and then just keeping pressure against that, I am going to pull the string back until I feel, that it's kind of pushing against this bridge pin. Now, I am going to push the bridge pin in rather firmly. You don't have to go crazy, but just kind of get it in there pretty tightly. It is good idea to kind of tug on the string to make sure that everything is settled.
Now, I need to attach the string to the
Tuning Post. This part is a little bit tricky. One of the important things is: if your guitar
Headstock has tuning posts that are aligned three on the top, and three on the bottom, when you change the strings for the three on the top, the string has to be on this side of the tuning post [Points to bottom side of tuning post]. If you are stringing the bottom three strings, it needs to be on the top side. So, I've got my 5
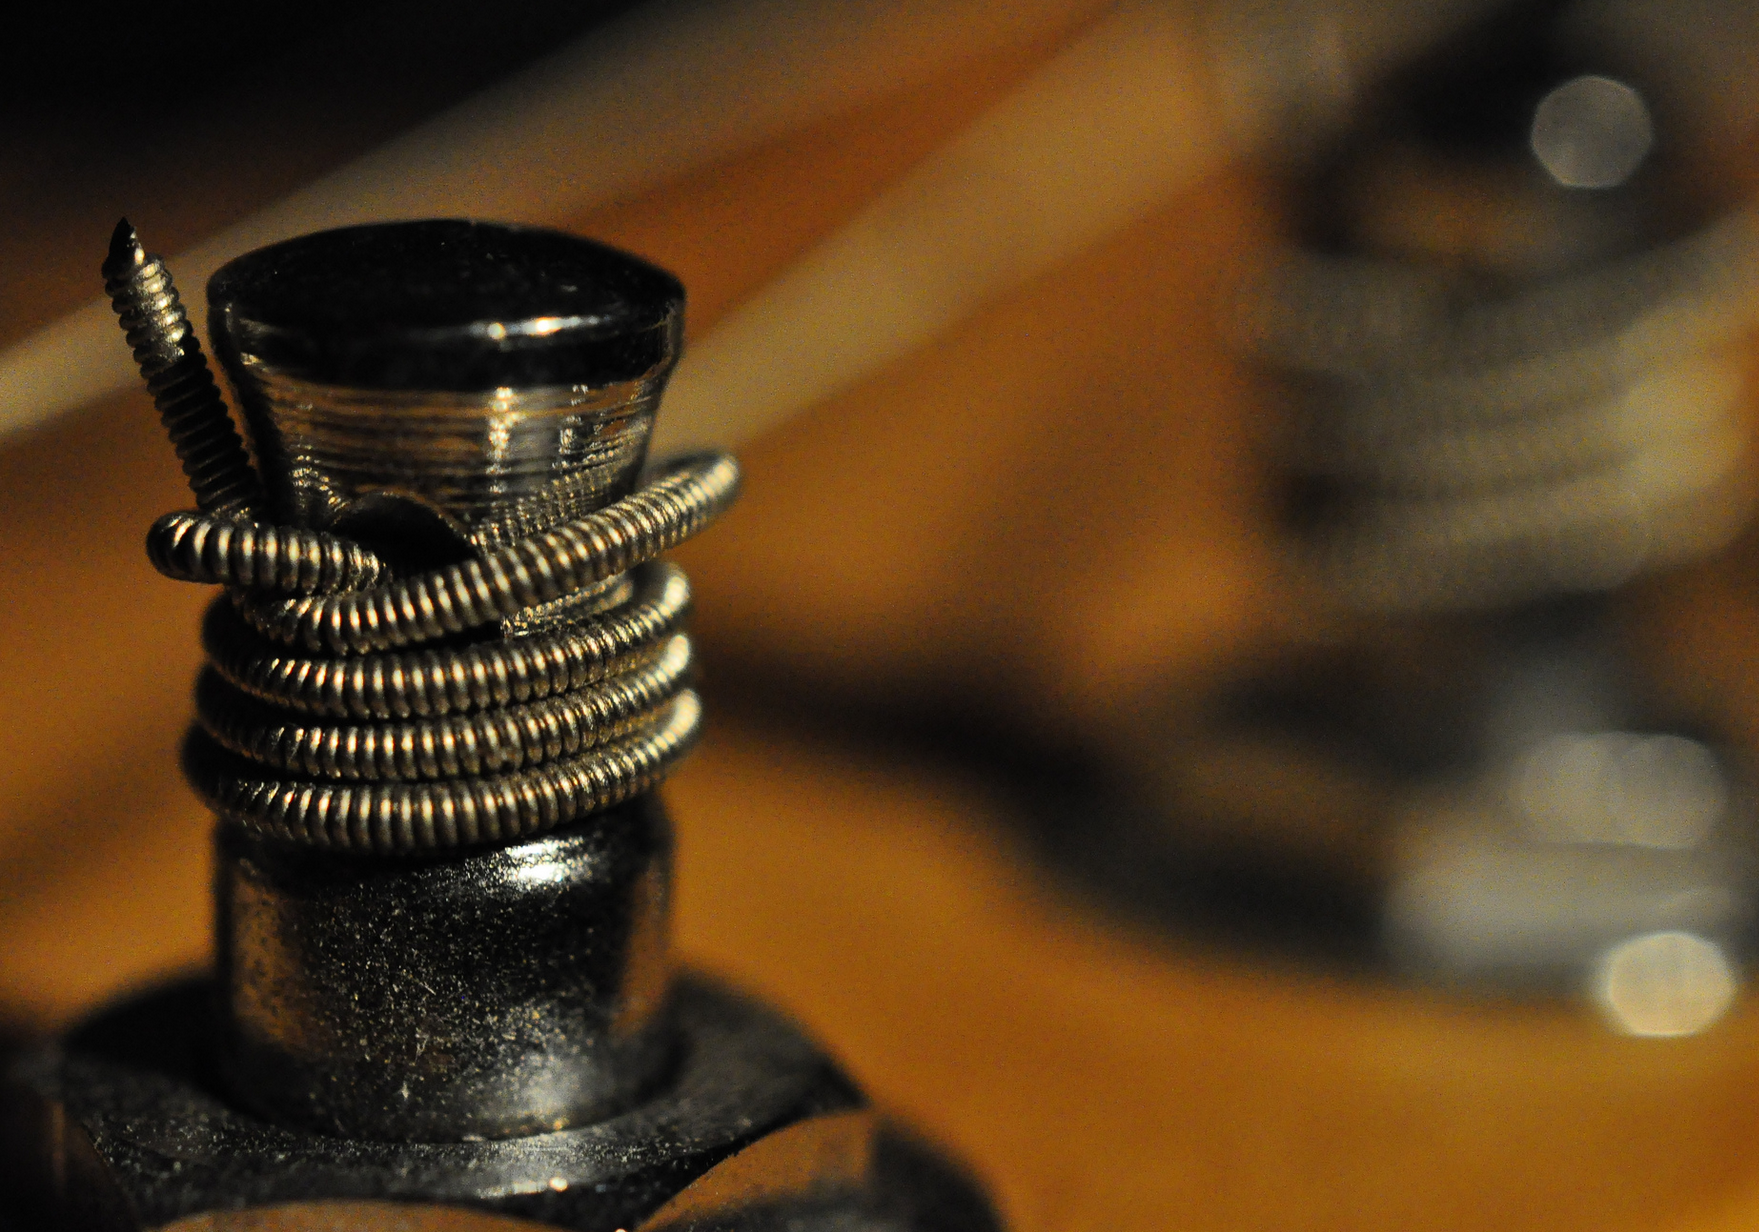
th string in my hand. I am going to lay it into the slot in the nut. Then I am going to take it on this side of the tuning post, and kind of pull it against the post. From this point, I am going to use my other hand, and go all the way around, make a full revolution. Now I take this skinny end of the string, and I am going to feed itinto the hole, that's in the post. The important thing here is, if you can, you want to make this skinny part enter above the raps that you've made. So I am going to feed it in here, and if I can make it come out the other side above the rap that I've made, like this here, then that is good too. I am going to feed it all the way through. And again, you want to keep both hands on the string, to keep it under control. Now I am going to pull it. You have to be careful, this last little part, sometimes the string will want to flip over, so you have to keep your eye on it, keep it under control. I am going to pull it until it's relatively tight.
The reason that I did this, is if you look at the tuning posts, they're actually concave, and you have this hole in the middle. When you make the raps around it, and then feed the string through above the raps, and when you apply tension to it, it is going to push those raps up into the string that went through the hole, and it's going to lock it into place. So, this way, it will stay in tune better, it will stay under control. Now, I will grab my string winder again, and I am going to place it on the
Tuning Peg. For this kind of guitar, with the tuning pegs on top, I am going to go counterclockwise to tighten it.
So, I put it on here [Puts string winder on the tuning peg]. And notice what I am doing with my right arm, I am pulling the guitar against my body, because I am going to apply pressure with my left hand. This keeps the instrument under control. Another thing that I like to do is with my right hand, I will pluck the string as I tighten it. [Plucks the string while tightening it]. When it has a decent amount of tension on it, you want to stop there.
It is very important when you change the strings on the
Guitar, you do them one at a time. You want to take the string of, put it back on, and so on and so forth. If you took all the strings of, the tension would drastically change and that can affect things on your instrument. That would not be good. One thing that you can do, if you don't know to tune the guitar yet, is pluck the surrounding strings [Plucks the strings]. The strings, the pitches get higher as we pluck downward. So, this string, which is already in tune [Plucks the string], sounds like that. The one beneath it [Plucks the string]. Well, that's supposed to be higher pitch, so I am going to tighten it a little bit more…
[Plucks the 6
th string] That's my 6
th string…
[Plucks the 5
th string] Now that I have it a little bit higher than the 6
th string., I am going to leave it like that, and I might change the rest of the strings, and then we're going to talk about tuning the guitar later.
This is all for a
Steel String Acoustic Guitar. Now we are going to walk you through changing strings on different types of guitars.



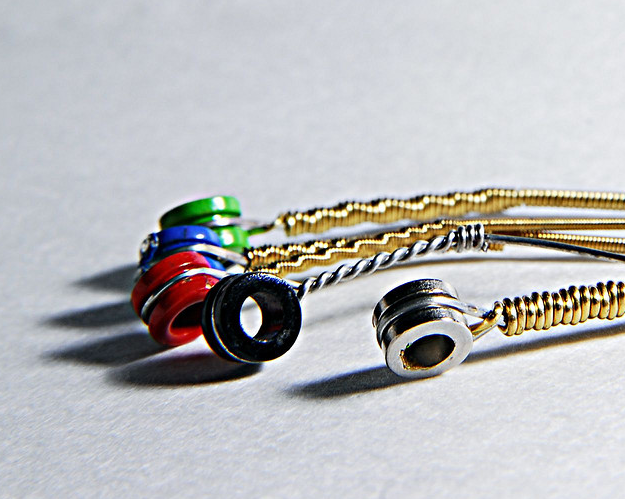
 Be sure to select the correct string. Packaging varies by string manufacturer.
 Find the end of the string that has a ball on it and insert it into the open hole in the bridge.
 Feed the string into the correct slot on the nut.
 Use your sting winder (or fingers) to rotate the tuning peg. Be careful not to tighten it so much you risk breaking the string.