Hey there! Welcome back to Strum School. In our past few lessons, we have been focusing on the
Chords, different types in fact. We started out with the open chords, we learned some majors, and then we did our minors. And then we focused on power chords. And just to repeat. One of the various pros and cons. With the open chords we get this wonderfully rich sounding chords, we got nice variety between minor and major. But you've got a lot of finger gymnastics, different positions to remember, different fingerings, so on and so forth. With the power chords, suddenly you just got one shape that you got to remember, and you just slid it around the neck, which makes guitar playing suddenly a lot easier. But these chords, they don't sound so rich. The difference between major and minor is kind of lost.
We
Guitar teachers like to often think of chords in three categories. Open chords, power chords, and the third type called
Barre Chords. Barre chords merry the best parts of open chords and power chords together. We have wonderfully rich chords, that are movable, with the same shapes you just move around. The downside is they are some of the most difficult chords to learn, and that is why we are learning them as the third of the third group.
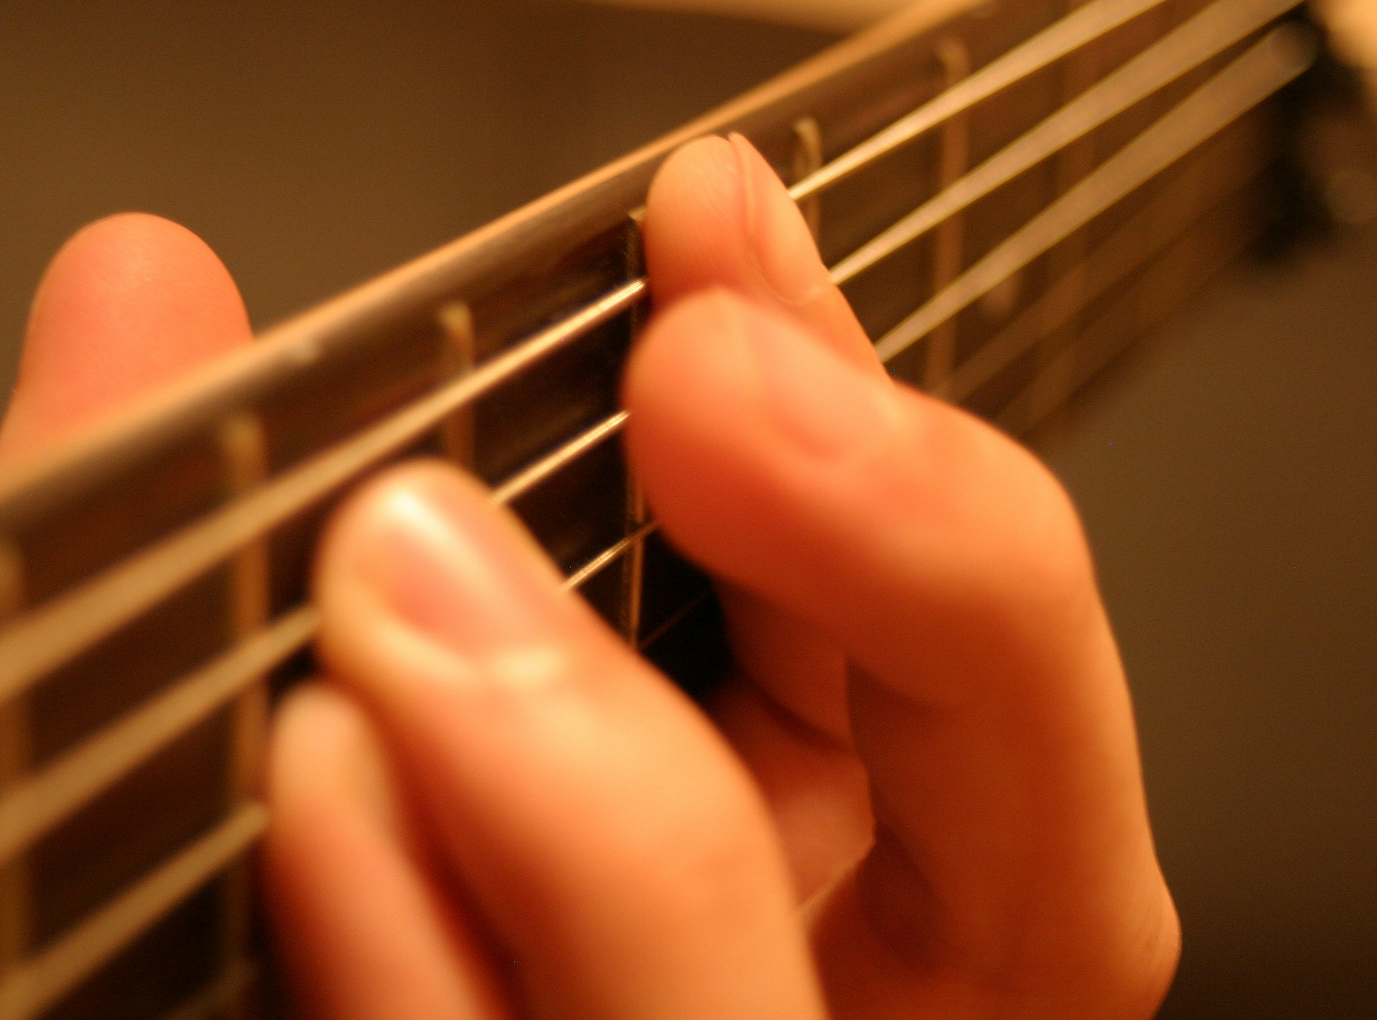
Let's get into some details. First question is, what is a barre? Barre is when you use one finger, sometimes more than one, but usually just one finger to press down multiple strings at the same time. Which is physically difficult to do. Sometimes people do this, they push down all the strings, and they say is this a
Chord? [Strums once] Kind of… But, basically it is a barre. The basic idea on barre technique is this… If you lay your finger down flat, you've got these lines where you have joints in your fingers. If you just use that part of your finger to push them all down, sometimes the string rides right through one of these creases, and it is not easy to push down that string. If you want to practice making a good barre, here is what I recommend. Take that flat part of your finger, and lay it right on top of this fret, and now bring your elbow in towards your ribs, and watch your finger roll to the side. What you are doing, is you are rolling of of this part of your finger in onto the side, where you have straight solid bone. That is the best way to make a barre. You can practice that, just moving it around. See if you can get all strings to ring. That is the barre that is most basic.
Now let's talk about how we are going to put this into chords. Let's start out with the E chord. [Shows the Open E major chord diagram] If you remember our standard fingering, the pinkie doesn't get used, we've got fingers 2, 3 and 1. In order to do the barre chord, we are going to take this E chord shape, and we are going to use different fingers. Let's look at our
Chord diagram. What we are going to do, is take our 3
rd finger and we are going to move it over to where our 2
nd finger was. Basically, 3
rd finger is going to go 5
th string, 2
nd fret. And now we are going to use our pinkie on the 4
th string, 2
nd fret. And 2
nd finger is going to go onto the 3
rd string, 1
st fret. This is still the E chord, but with the different fingering. On the E chord you will see zero, 3, 4, 2, zero, zero. So that is still an E chord. If I move this whole hand shape one
Fret over, now I've got room to lay done my barre. Now, on the chord diagram you are going to see: 1-3-4-2-1-1, and a curved line over the top of all those 1's. The curved line, that is the symbol for barre. Remembering what I mentioned a moment ago, about trying to roll your index finger onto the side, and we can try to play it. [Strums once]. This is a root-6 major barre chord. We took an E chord, and moved it one fret down.
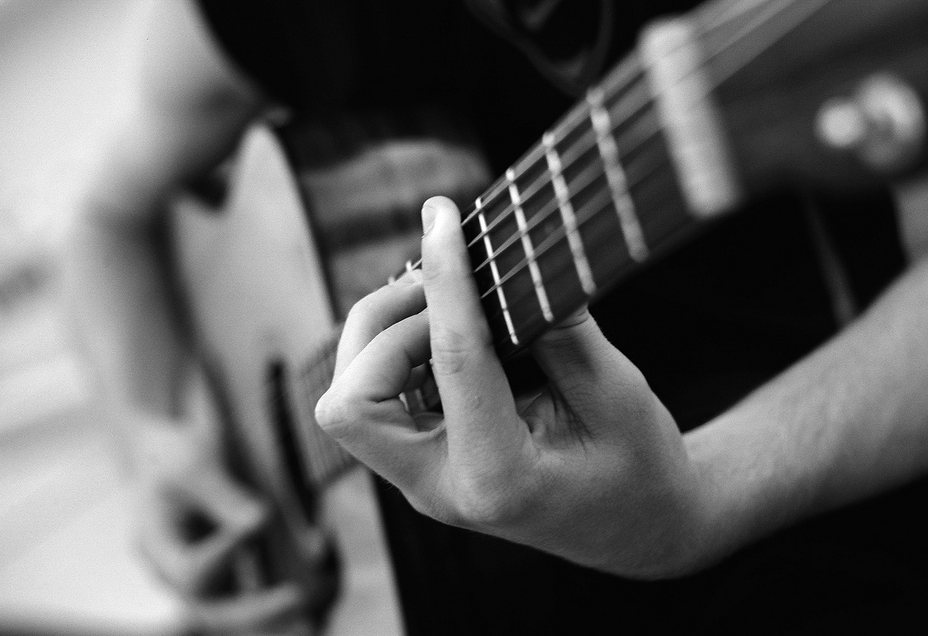
Very important about barres, you do not want to get into the habit of banding your tip joint, because it is almost impossible to lay down the barre. It literally forces you to curl your tub, and use the pad of your thumb. Think about pinching. If you were to pinch something, the motion is very similar, when you make a barre. Also, try not to have too much bending in the wrist. As we mentioned earlier on in the technique, the best way to give your fingers strength is to have a straight wrist. You might have to kind the positioning, try some different things. Be patient. These are difficult chords.
That is our F major, root-6. Because I am grabbing that 6
th string, that is why we call it a root-6. In fact, if I lift up the barre, and get rid of these fingers, I am left with the power
Chord. Then I add a finger, pull the barre down, and I've got this rich, wonderful chord. That is the root-6 type.
Let's go back to our E chord for a moment, and consider that A minor (Am) chord is almost the same thing. You just drag your fingers over. E chord [Strums once], Am chord [Strums once]. [Shows the A minor chord diagram] And on the chord diagram you'll see that we can have our standard fingering, or I can switch the fingering, just like I did with the E chord in order to set-up my barre chord. So, I am going to put 3
rd finger on the 4
th string, pinkie on the 3
rd string, 2
nd finger goes on the 2
nd string, no pointer finger any more. So we are at A minor chord, that we want to really use. However, if I slide one fret down, I can lay down the barre, and now I've got the
Barre Chord. [Shows the Root-5 Barre chord diagram] This is the root-5 barre chord, meaning I don't need to grab the 6
th string. That is why you see the x on the 6
th string. If I move this whole thing one more fret down, so that the barre is on the 2
nd fret. [Shows the B minor chord diagram] This is the B minor chord. And the B minor chord is a very common chord in guitar. Of course, it is a barre
Chord, so we waited until now to show it to you. But, you can add one more chord to your library. Again the same technical pointers apply, one is straight wrist, think about a pinching with the index finger and thumb, bring your elbow in against your rib… And that is your B minor.
Couple of exercises to practice. They are pretty much the same exercises as power chords. Just in a way that we took a power chord and we went root-6, 1
st fret, go down two
Frets on the same string, slide two more, slide back… We are going to do that exercise with root-6 major barre chords. I will lay down the barre, and I will do four strums [Strums four times], we move two frets down by just sliding the fingers along the strings [Strums four times], two more frets [Strums four times], return [Strums four times], and all the way back to where we started from [Strums four times]. Just like with the power chords, these are movable chord shapes, so I can move it up to the 5th fret, and start there if I want. [Strums four times on different frets]. That is for practicing getting used to the chord shapes and sliding it around. And just like with the power chords, we'll do an exercise here to practice switching the strings.
Let's start this one at the 5
th fret, and we are going to do four strums [Strums four times] of this root-6 major barre chord, and now I am going to switch everything over, just dragging my fingers along the strings to the root-5 minor barre chord [Strums four times]. Give that four strums. Slide up two
Frets on the same strings [Strums four times]. Slide back [Strums four times]. And now back to where we started from [Strums four times]. These exercises will help your hands with the muscle memory, and little bit of the strength building. That last point is an important one. This stuff kind of takes a while for your forearms to get strong enough to hold everything down. As I mentioned before, you have to have a lot of patience. Sometimes these
Chords can take months to develop, but that is normal. So, don't let all your other guitar playing, and your guitar practicing get neglected while you work on these. You have to have a balance of everything, and they will all come together after you've been practicing for a while. Have some patience, and in the next couple of lessons we are going to get into few more details, and few more barre chords.



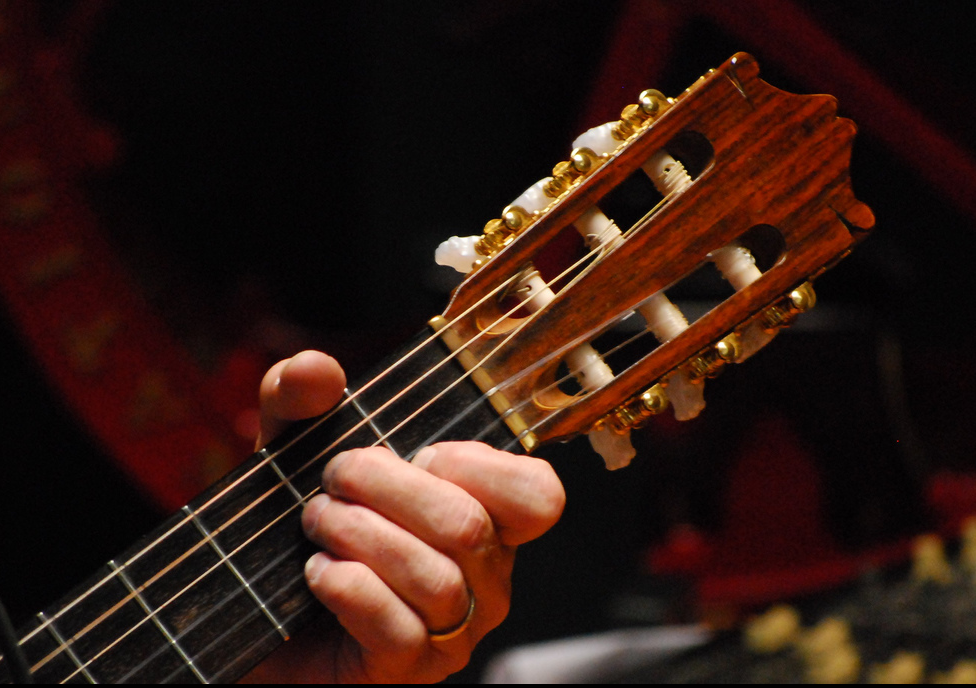
 When you use one finger to press multiple strings at the same time. This is used to make all Barre Chords and requires a fair amount of hand strength.
 3rd Finger (ring): 5th String (A) > 3rd Fret
 3rd Finger (ring): 4th String (D) > 3rd Fret