Hi! Welcome back to Strum School. In the past couple of lessons we have been focusing on basic, open
Chords. We talked a little bit about keys too. At this point, if you have been practicing your chords, you might start recognizing that some of these chords sound like a lot of songs that you've heard before. Like the old G-C-D, for example. [Plays chord combination] I just made that up, and it sounds like a lot of songs that I've hear before. It is really common stuff, so we are learning some really crucial stuff that you are going to use a lot. If every song sounded like that, like bunch of open, major chords strung together, well, after a while, they all sound the same. In music, we use a lot of minor chords to give us some different sounds, different flavors.
What is a minor chord? Let's just listen, and hear the difference. We are going to start with the E chord [Strums few times]. Sounds very kind of happy, and triumphant sounding. Here is the E minor chord [Strums few times]. Little bit sadder, little bit darker. Major [Strums once]. Minor [Strums once]. The difference is subtle, but it is there. The thing about minor chords is, for every major chord, there is a minor chord. So if you can have a D chord, there is a D minor chord. If there is a G
Chord, there is a G minor. So on and so forth. Another little detail is, when we talk about major chords, it is very common that you just say the letter. So, if you are talking about A major, you might just say A. G. D. But if you are talking about minor chords, you have to use the word minor, if you want to be clear about what you are talking about.
Let's take a look at three very common open minor chords. Let's start with the E minor, and this is actually one that we've used before. It is one of the easier chords to play. [Shows the E minor chord diagram on the screen] On the diagram you'll see that there are only two notes, that we are going to push down on. Everything else is an open string, so we are actually going to strum all six strings for this one. Let’s look at the fingering in detail here. We are going to start with our 2
nd finger, and we are going to put it on the 5
th string, 2
nd Fret. The other note is going to be 3
rd finger is going to go on the 4
th string, 2
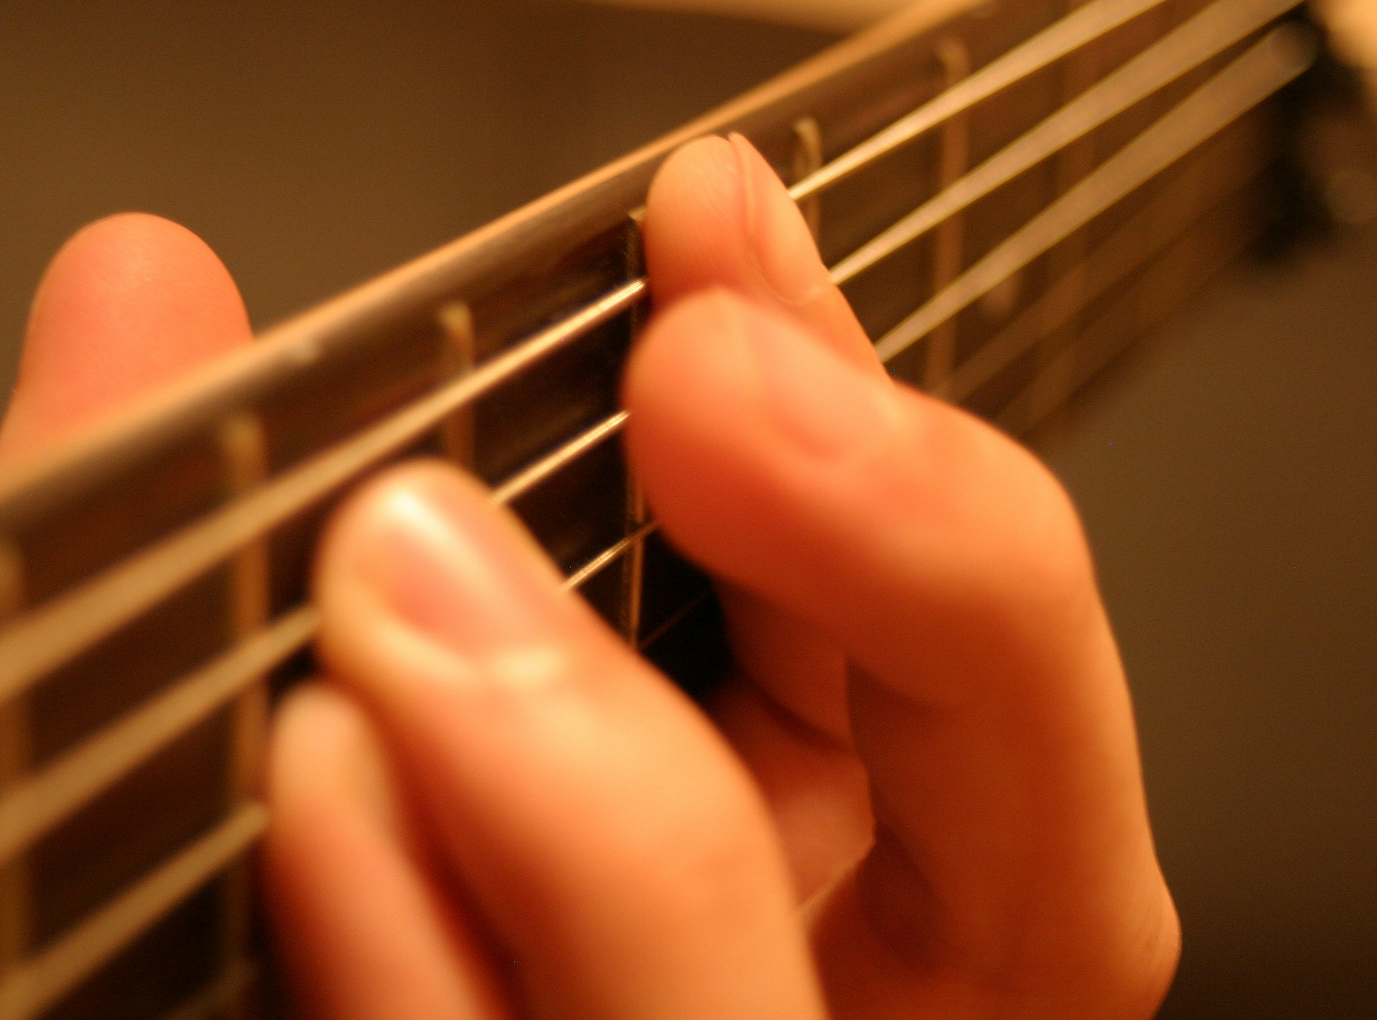
nd fret, and when we put them down together, they are going to look like that. [Shows the finger positioning for E minor]. Notice they are not both going to be against the fret, that is almost impossible to do, so if they are a little bit staggered, that is ok. Let's strum all six strings [Strums two times]. And that is our E minor. If you have like a dud note, like one of the notes… nothing is happening there, just play around with your fingertips a little bit. See if you can get them a little higher on the fingertip. you might want the fingernail almost like it's touching the wood there. Remember not to press too hard. That might help your
Chord ring a little bit more clearly. That is our E minor.
The next chord we are going to do, is an A minor chord. [Shows the A minor chord diagram on the screen] Here is our fingering in detail. We are going to start out with the pointer finger, and go to the 2
nd string, 1
st fret. So that is where that finger goes. The next finger is the 2
nd finger, you are going to skip a string, and go over to the 4
th string, 2
nd Fret. And the 3
rd finger that we need, is the 3
rd finger on the 3
rd string, 2
nd fret. So, let's put them all down, and it's going to look like this. And on the diagram, you'll see that there is the "x" on the 6th string. So, only five strings for this one. Let's practice playing it. My fingers in position, and A minor
Chord [Strums three times]. Just like with the E minor, you may have to play with your fingers to get the sound nice. Here is a little trick… If I am switching from E minor to A minor - rather than lifting all the fingers of, and putting them down one by one, I might actually try to move fingers that have similar position. In other words, here is our E minor [Strums once], and when I go to my A minor, I am going to take these two fingers, and just kind of drag them over. I am going to switch the strings. Because that is where they are going to go for A minor. Then I only have to add one finger [Strums once], and that just made my transition a little bit quicker, little bit smoother. E minor [Strums once] to A minor [Strums once]. That is going to take a little bit of extra practice, but but that's the trick that we, the
Guitar players, use to make transitions little easier.
Our 3
rd minor chord that we are going to look at today is called the D minor. [Shows the D minor chord diagram on the screen] And let's look at our fingering. You take your pointer finger, and you are going to go to 1
st string, 1
st Fret. Then we are going to take 2
nd finger, and you are going to skip a string, going into the 3
rd string. And that is going to be on the 2
nd fret. The 3
rd finger is on the 2
nd string, on the 3
rd fret. And when we put them all down, it is going to look like that [Shows the finger positioning]. Notice how much I have to curl my fingertips in order to get them in position. Again, the thumb is on the thumb pad, it is not on the tip. That is our D minor
Chord, and we've got x's on the 6th string, and the 5th string. So, bottom four only [Strums two times]. You really have to bend those fingers in order for the bottom string to ring, instead of [Strums once]. Have some patience with that one. It is kind of tricky, but if you practice that a lot, you are be able to get it. In terms of practicing these three chords, there is a specific order of the chords, that it's going to make them sound musical and natural, like we are going to commonly hear them.
That is to start with the A minor, then the D minor, finally the E minor, and then we will return to the A minor. That is going to sound like this. I will do two strums for each chord.
- A minor.
- D minor.
- E minor.
- A minor.
We recommend practicing them in that order. Most importantly, once you get a hang of them, try mixing them in with your major chords. At first it might feel random, but when you start learning songs, you'll learn that certain minors often show up with certain major chords. For now, it's cool to just kind of mix and match, and to see what sounds you get. Again, to summarize, these are all very standard, basic chords that every
Guitar player learns. Some of them are little bit trickier than others. That is ok. Just have patience, and make a notes to yourself. Like, oh man, that one chord is killing me, but I got the other ones. Then, just work on that difficult chord a little bit more. Continue to practice with this good technique, have fun, as always. And be creative. Mix and match these chords, and see what sounds you can come up with, and we'll see you in the next lesson.




 E Minor Em Chord Diagram2nd Finger (middle): 5th String (A) > 2nd Fret
 A Minor AM Chord Diagram2nd Finger (middle): 4th String (D) > 2nd Fret
 D Minor Chord Diagram Dm1st Finger (pointer): 1st String (e) > 1st Fret