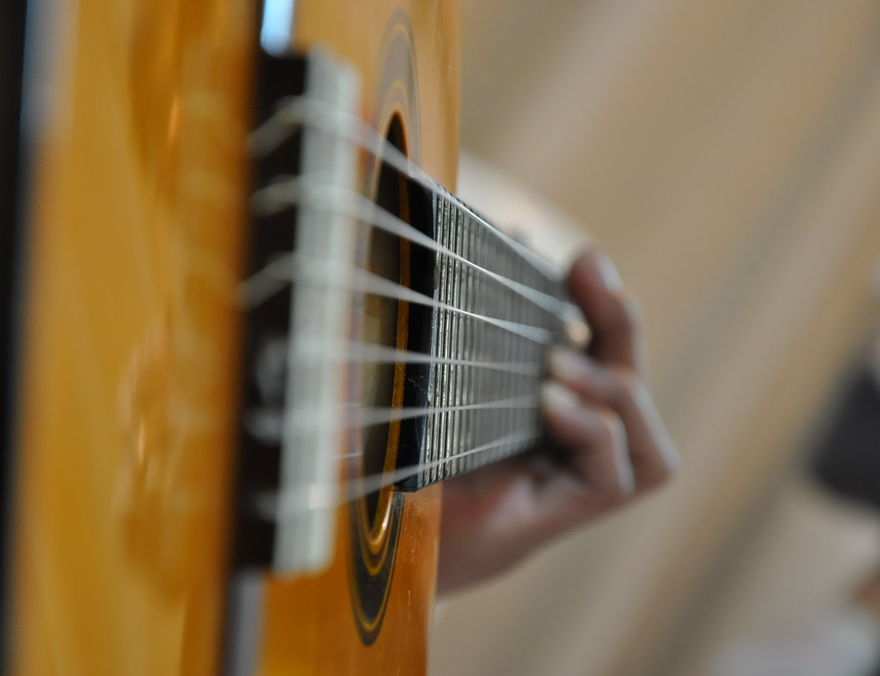
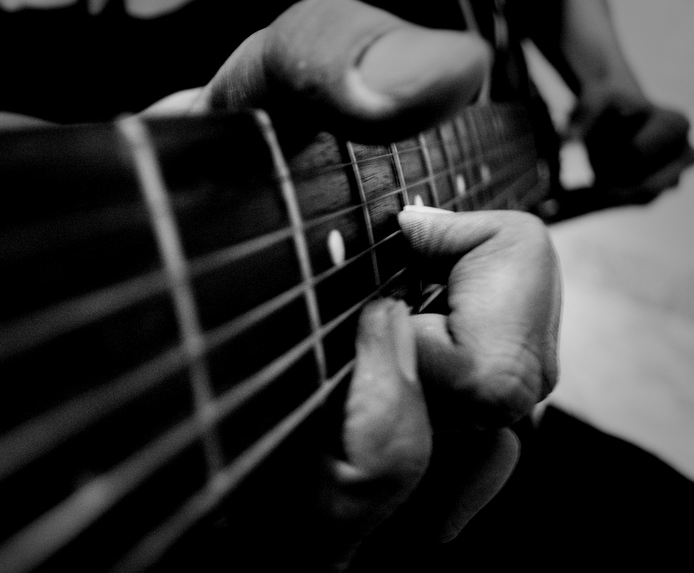
For the past few lessons, we've been focusing on the right hand, now it's time to start talking about the left hand.
The left hand techniques are pretty much the same whether you're playing an
Electric or an
Acoustic or nylon string or whatever. And all based on this idea: If I put my hand out here, with my wrist straight, I can freely wiggle my fingers, no trouble. If I bend my wrist down, and start doing that, it's pretty stiff in the forearm and the wrist. Same thing, if I bend up here. This is how the people get a tendonitis, and carpal tunnel, and so forth. So, whenever possible, you want to keep a straight wrist.
The other basic principle is regarding the thumb here. If I were to stand like about four inches from the wall, with my fingers out, and lean onto the wall until my fingertips, you'll notice right away, that your thumb is going to lock back into this position here, so that you can be on the tip of you thumb. If you were to bend this last joint, you won't be able to support your weight. So that is another important principle here. You want the thumb to kind of lock back into place, and you don't want to bend the tip joint like this.
Let's start with the thumb placement, and then we'll move forward from there. The first thing I am going to do is take this pad of my thumb, and place it back at the
Neck. Here is how that is going to look. [Turns the
Guitar and shows where the thumb is placed]. Notice, it is not perpendicular or it is not parallel to the neck. It's like 45 degree angle, and a pretty much on the fleshy part. At times I might roll to the side, I might even move up a little bit, I might even roll onto the edge of the thumb. And, at certain extreme situations, you might need to move closer to the bottom. But for most things that you need to do, you just need to have it be more or less in the middle of the
Neck.
From this point, I still have a straight wrist, and I am going to consider the point where the fingers meet the palm of the hand. That point, let's consider that like a line. That line should be beyond the edge of the
Fretboard. If it's behind the fretboard, or even behind the neck, you won't have enough finger to work with. So, let's kind of come forward a little bit. From this point forward try curling your fingers. Curl your fingertips on your palm. Almost like you were hanging from a cliff, or something like that. That would be one extreme [Curls the fingers], totally flat [Flattens the fingers] is another extreme. You want to relax the fingertips, so that they kind of curl, sort of like this [Shows his curled fingers]. From there, I can take the tips of my fingers, right there [Points to the tip of the finger], that tip. And push on the strings.
This first string, you probably remember, is an E string. So, I am going to practice pushing on the string here. The fingers are numbered: 1 is the index, 2 is the middle, ring finger is 3, pinkie is 4, thumb is just called thumb. So, 1, 2, 3, 4. I will take my number 1 finger, and I am going to use the tip of the finger, close to the pad, to push on that string. If you have long fingernails on your left hand, you'll need to trim them back here. You don't want your fingernail to be part of this, it should be trimmed pretty close to the quick.
So, I am pressing on my string, and here is a little exercise we can do, just to get used to this. I am going to take my number 1 finger on the 1
st string, and I am going to place it on the string, and just push on it, bounce on it, like a trampoline. Then I am going to go to my 2
nd finger, and do the same thing. 3
rd finger, now 4
th finger. Then I'm going to repeat on the next string. Going string to string, I am going to be experimenting with pushing on the strings. The location of the thumb in relation to the fingers... Sometimes it's going to be right behind either the index or the middle, maybe right in front of the index. You don't want it to be too far forward or too inside the hand. It's like this relationship [Shows the location of the thumb and the fingers]. This exercise, which we recommend that you practice, is just pressing on the strings, and going finger to finger, one, two, three, four. You can do it anywhere on the
Neck of the guitar, you really just want to be feeling how the string feels when it hits that
Fret. You might even make a noise.
That exercise is just going to get your hand used to moving around on the
Guitar neck. And like with all things, this is just something you need to practice over and over and over again, and soon it will become more comfortable. If it is frustrating at first, that is ok, it's totally normal, everyone goes through it. You just need to be patient, practice a little bit at the time, and if your hand gets really sore, take a break, loosen it up for a minute or two, try to go back… But in the beginning your body is still getting used to playing the instrument, so just go a little bit at the time, and you will get there.



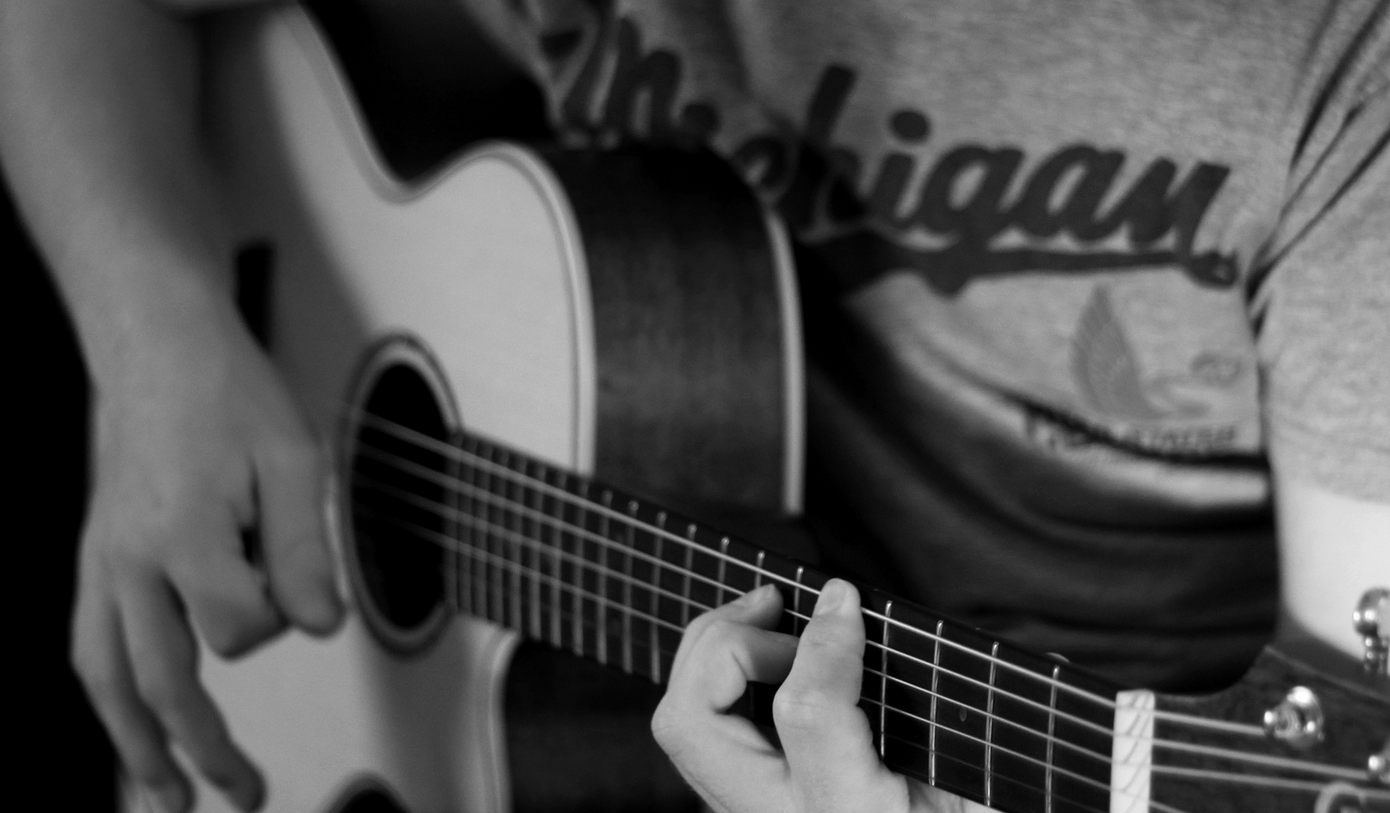
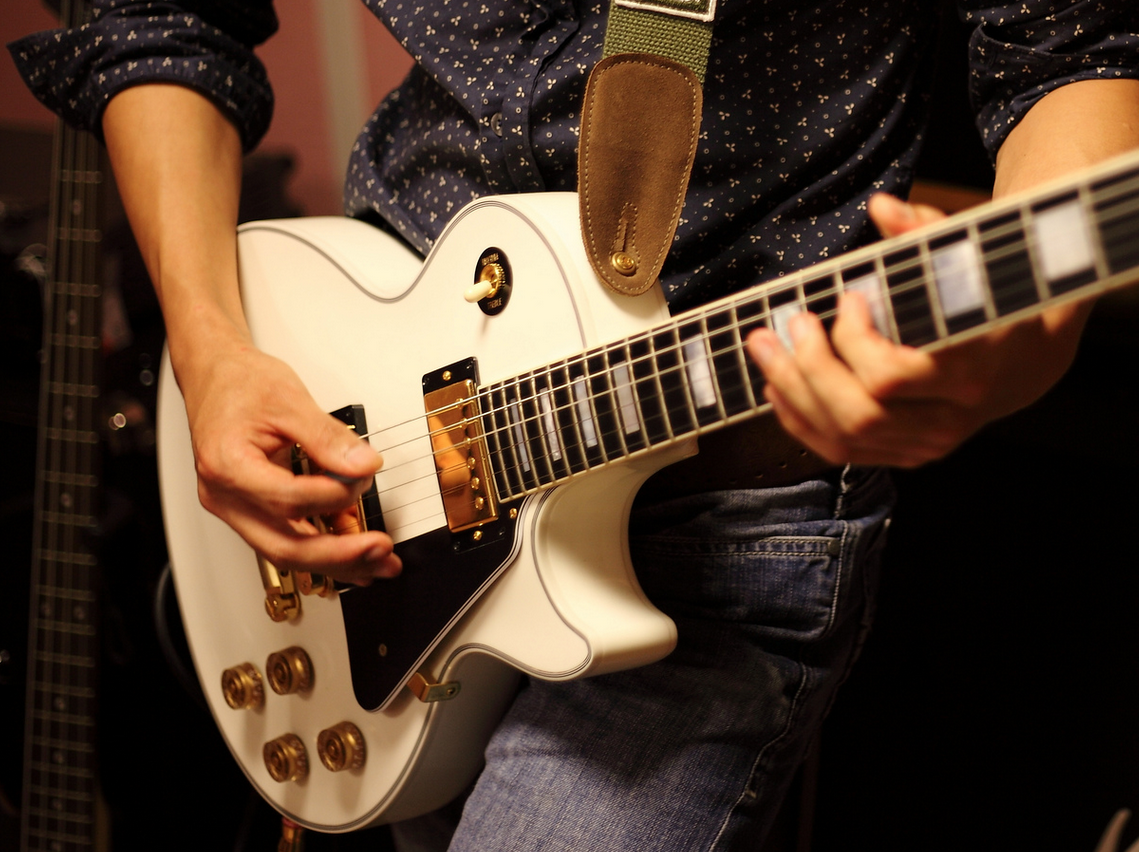
.jpg) Place the pad of your thumb on the back of the neck of the guitar. Point the thumb at a 45-degree angle, away from the body of the guitar so your fingers are slightly farther away from the headstock than your thumb. It is OK to roll onto the outside of the thumb or move your thumb below the middle of the neck at times.
Place the pad of your thumb on the back of the neck of the guitar. Point the thumb at a 45-degree angle, away from the body of the guitar so your fingers are slightly farther away from the headstock than your thumb. It is OK to roll onto the outside of the thumb or move your thumb below the middle of the neck at times. Secure your thumb on the back of the neck of the guitar. Move your hand forward so the line where your fingers connect to your hand is slightly beyond the bottom edge of the fretboard. Curl your fingers so they are arched and the tips face the fretboard. Push the tips of your fingers (not the pads) against the strings.