Welcome back to StrumSchool. In the past few lessons we've been focusing on our basic open chords. We did some open major chords, we did some open minor chords, we talked a little bit about keys, and maybe at this point, you are starting to wonder: Am I ever going to start playing in this part of the
Guitar, what about all this? Well, today we are going to get into that. What we're going to do is learn about power
Chords.
What's up with power chords, what are power chords? Basically, they are chords that only use two strings, sometimes three strings. If you think about a rich G chord [Plays G chord]. It sounds real pretty. This is a G power chord. So, it's kind of basic sound. Here is an example of some power chords in action [Plays few power chords] Maybe you've noticed that I just held the same hand position, and slid it around the guitar. With all of those open chords there is a lot of finger gymnastics, shapes you've got to remember, this finger goes there, that one goes there, it's an A minor, it's a E major. Power chords are much, much more simple.
It's really the same
Chord shape that you use with your left hand, and you just slide it around. Sometimes you put them on certain strings, sometimes you move the strings. Otherwise they kind of ring all the same. In a way, that is a downside, they all sound the same. That richness that you get from a big E minor chord [Plays E minor chord]. If I play a power chord, it's just [Plays the power chord]. So, you lose a little bit of richness, but you gain something else in return. They are easy to transition from chord to chord, you can really move around the
Neck quickly, and for certain songs, and song styles they sound awesome.
Let's look in detail about how we're going to play our power chords. The first thing that we are going to do is look at what we call a Root-6 Power Chord. All that means is your pointer fingers goes on 6th string, that is what the 6 in Root-6 means. Let's go down to our first
Fret, on the 6th string. I am going to press down on that note, and the formula I am about to describe is the same for all power chords. I basically go down the string, and up two frets. That means 5
th string, 3
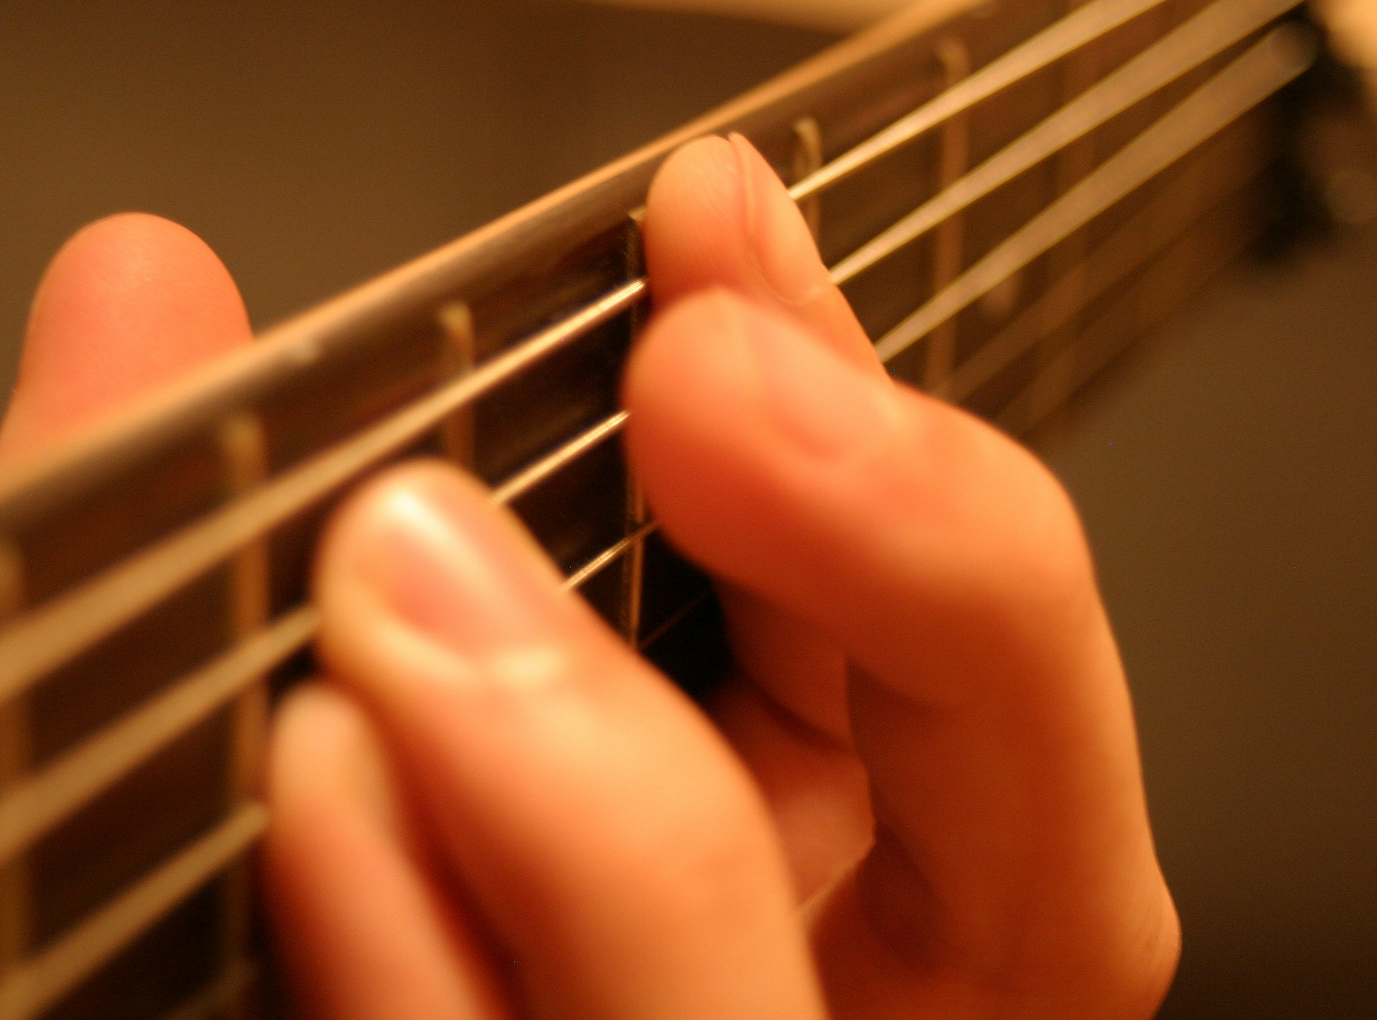
rd fret. [Shows the Root 6 Power chord diagram on the screen] When you look at the chord diagram, there is ton of x's. X on strings 4, 3, 2, 1. That means don't play those strings. We start out, we’ll probably use the pick, and try to just strum those two strings. Once you get more comfortable with that, you can try muting. The trick here is, instead of playing high on the fingertip, like we normally do, you actually flatten the finger out a little bit, and use a little bit more a fleshy part of your finger instead of the tip. Now I can gently press that down on all these other strings. You don't want to press too hard, because you just want to mute them, you don't want to push them onto the strings. And I will put my other finger down. This is very difficult to do. What probably happens is, as soon you add the other finger, everything gets messed up. But that is ok. You just practice it over time, and it will come together. The benefit of this now, is when I play, I can hit all the strings, and you don't really hear the other ones. This is what we call a F Power
Chord. Funny thing about power chords is, when you talk about them, we usually just say: F power chord. But when you write them, put as little 5 next to it. If you were buying sheet music at the store, you'll probably going to see that: F5, G5 - those are power chords. Another way that you can make your power chords to sound a little bit more richer, is to add another finger to it. On another string.
Now this is a three note power chord. We are going to add it on to the 4
th string, also on the 3
rd fret. One at the time, that is 1
st finger goes 6
th string, 1
st fret; Then I go next strings, two frets up to the 3
rd fret. That is for my 3
rd finger; And pinkie goes onto the 4
th string, 3
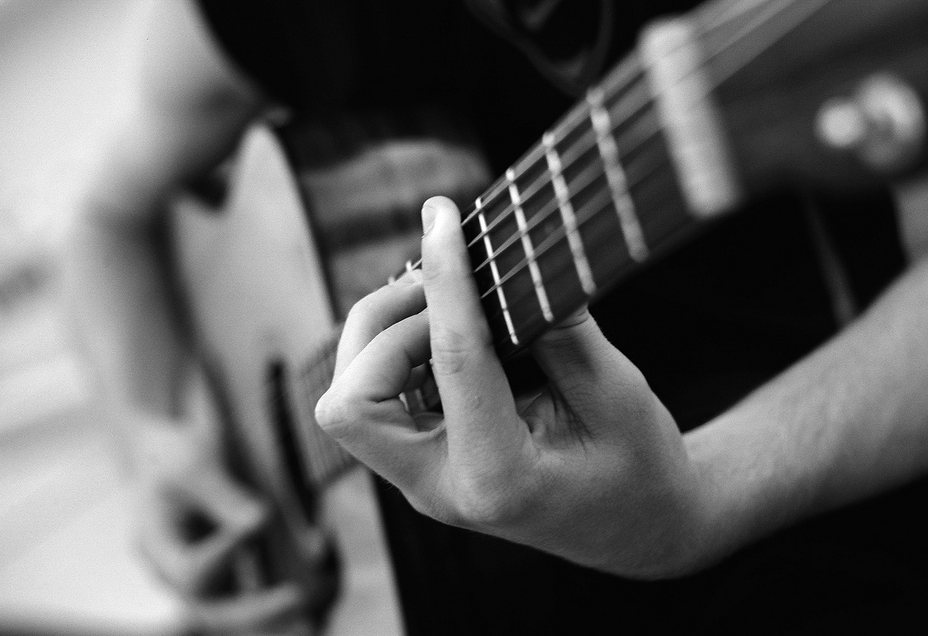
rd fret. And these two fingers should… It's kind of like they are nesting, or they are tucked into one another. That is going to help this chord. And the muting is all the same. This is a root-6 power chord. This one is a F5 (F Power Chord). If I slid everything up to the 5th
Fret, that makes it an A5 (A Power Chord). I can do a three note, or two note.
In fact, when we talk about power chords, there is no real system to describe whether you are talking about a two note power
Chord or a three note power chord. It is kind of weird, but that is one of the limits of the system. This is our A power chord. Both of these are Root-6, remember. Because, again, we have just pointer finger on the 6
th string. The other family is Root-5. All that means is that you take your pointer finger, and you put it on the 5
th string. And then we make our chord exactly the same way. The same chord shape, I am going to go down the string, up two
Frets. With the 3
rd finger. If I want to make a three note power chord, I just sneak that pinkie string in. Because it is root-5, that means I have pointer finger on the 5
th string, 5
th fret in this case. 3
rd finger goes on the 4
th string, 7
th fret. And pinkie is going to go 3
rd string, 7
th fret. That is for the three note, if you just want to do the two note, you can do the two note.
In this case it is a D Power Chord, or D5. That brings me to a little point here… In the way that every letter could be a
Chord. For example, there is an A letter, there is an A chord. There is also an A minor chord, there is also an A power chord. Power chord is just kind of a different style of a chord. Different kind of a sound. Thus far we've got on F power chord, two notes or three notes, you got an A power chord, you got a D power chord.
A couple of exercises that you can do to work on this things, are: First, we are going to just focus on a sliding motion. So, let's go down to the 1
st Fret, root-6, F power chord. I will just do the two finger version. I am going to strum four times on this chord, and then I am going to slide down the
Neck two frets, to the 3
rd fret. Then I am going to slide down more, to the 5
th fret, back to the 3
rd fret, and then finishing up where I started from. So, that is going to give me an F power chord [Strums four times]. Slide two frets. This is the G power chord. [Strums four times]. Slide two more
Frets. A power chord. [Strums four times]. Back to the G power chord. [Strums four times]. And now F power chord. [Strums four times].
In the beginning, you might feel like this stretch is kind of tough on your hand. Because the frets are so wide down here, so it might be a little bit easier to start of at the 5
th fret, move to the 7
th fret, then the 9
th fret, back to the 7
th fret, back to the 5
th, like this…
- 1, 2, 3, 4… [Strums four times]
- 1, 2, 3, 4… [Strums four times]
- 1, 2, 3, 4… [Strums four times]
- 1, 2, 3, 4… [Strums four times]
- 1, 2, 3, 4… [Strums four times]
I am only going quick to demonstrate these, practice this as slow as you need to. Slow is good, because then you can hear if each chord is really sounding good or not. Also, remember to use your fret markers. Every
Guitar can be a little bit different. This one has markers on 3
rd, 5
th, 7
th , 9
th , 12
th. That is a quick way to keep track on where you are. That exercise is just for sliding. Now let's do an exercise to practice switching from root-6 to root-5. I am going to go back down to the 1
st fret. I am going to do four strums on my F6, this is the root-6 power
Chord.
- 1,2,3,4… [Strums four times]
- 1,2,3,4… [Strums four times]
Now I am going to switch over to the root-5. Same
Frets, I just drag my fingers over. If at first you might feel like you need to lift everything of, and put it back one at the time, that is ok. But as you practice it, you try to just drag the fingertips over, it will make your transition quicker.
- Now, the root-5, 1st fret, I will give that four strums [Strums four times].
- I am going to slide down two frets, root-5, now I am on the 3rd fret [Strums four times].
- Go back to where I just was, on the root-5, 1st fret [Strums four times].
- And now back to where I started from , root-6 [Strums four times].
If you need to do that on , let's say, 7
th fret, remember it is going to go:
- root-6 [Strums four times],
- root-5 [Strums four times],
- root-5 [Strums four times], but sliding,
- slide back root-5 [Strums four times],
- and now return to the root-6 [Strums four times].
These exercises will get your hands used to the switching part of things, and the sliding part of things. Remember to try two string power chords, and three string power chords. Mix them and match them, and you will quickly realize like you can really just start moving around neck pretty quick with these things. As far as the sound, I mean they sound, they sound cool. But, if we add some distortion to our
Amplifier, that is really when they are going to come alive. Because they sound awesome with
Distortion [Plays the rock riff with distortion]. It is never bad time for the Whammy bar. That might be like a rock example. You might find these chords in punk music. A lot of times it is the two note version, when you are in punk mode. [Plays the punk riff].
Another little details is, a lot of times when you are dealing with power
Chords, you downstream everything. Its a very common technique, not always, but it can give you some good results. That is the basics on power chords. To summarize, basic kind of sounding chords, that are great with distortion, they are quick to transition, they're quick to move, but they don't really have the richness, that you get in the open chords. Practice the exercises, and be a little creative too. Some people find it very liberating to start using this chords to compose their own songs. Because you don't really need to know different shapes, and all stuff like that, you're just kind of moving them around. You can be really creative with some. We definitely encourage you to do that with them. If nothing else, practice these exercises along with your open chords, and these are going to really improve your guitar playing in a whole new way, because now we are using a lot more of the instrument.
Good luck, and we'll see you next time.



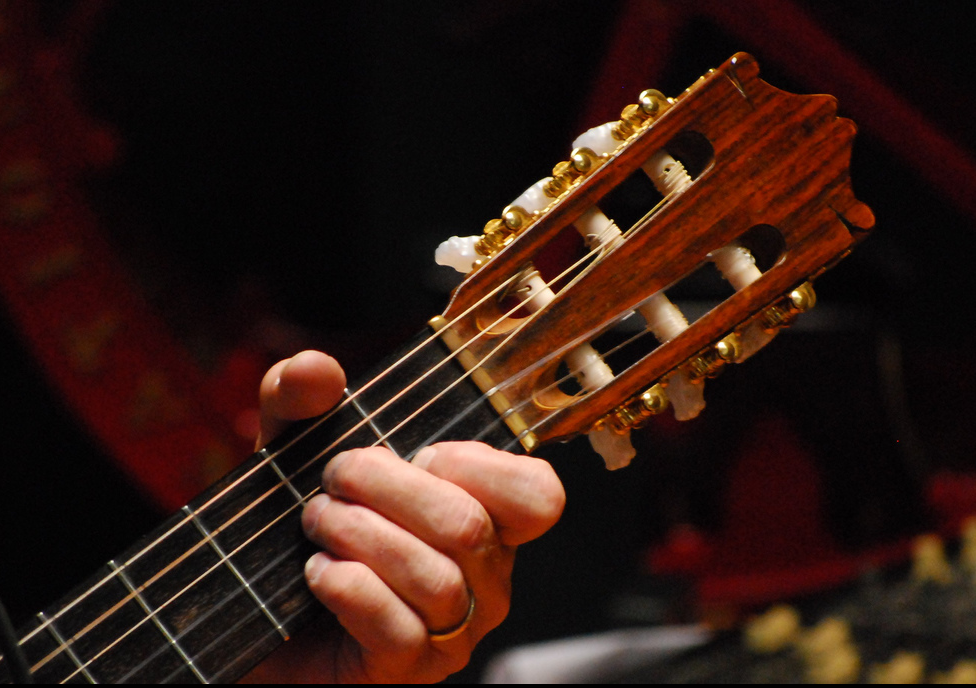
 When your 1st finger is on the 6th string (E). This type of chord can be played with either 2 or 3 fingers.
 1st Finger (pointer): 6th String (E) > 1st Fret
 These are played the same as the 2 string power chords but with an added pinky finger in the same fret on the string below your ring finger. Playing your power chords with three fingers will make the tone of your chords slightly richer.
.jpg) When your first finger is placed on the 5th string (A). These chords can also be played with 2 or 3 fingers.
When your first finger is placed on the 5th string (A). These chords can also be played with 2 or 3 fingers. First Finger (pointer): 5th String (A) > 5th Fret