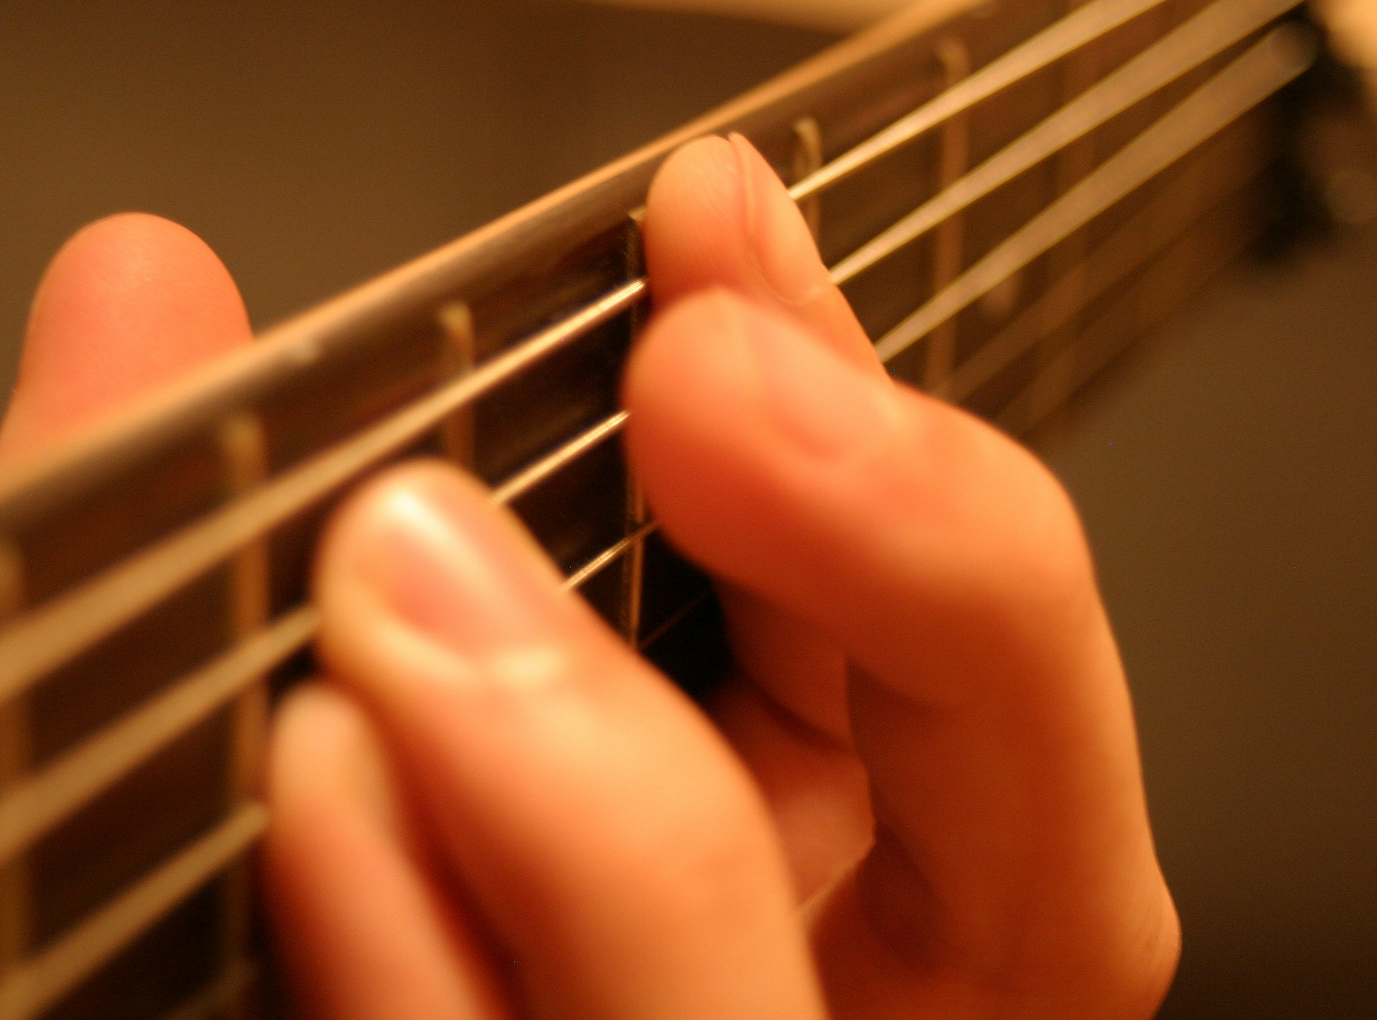
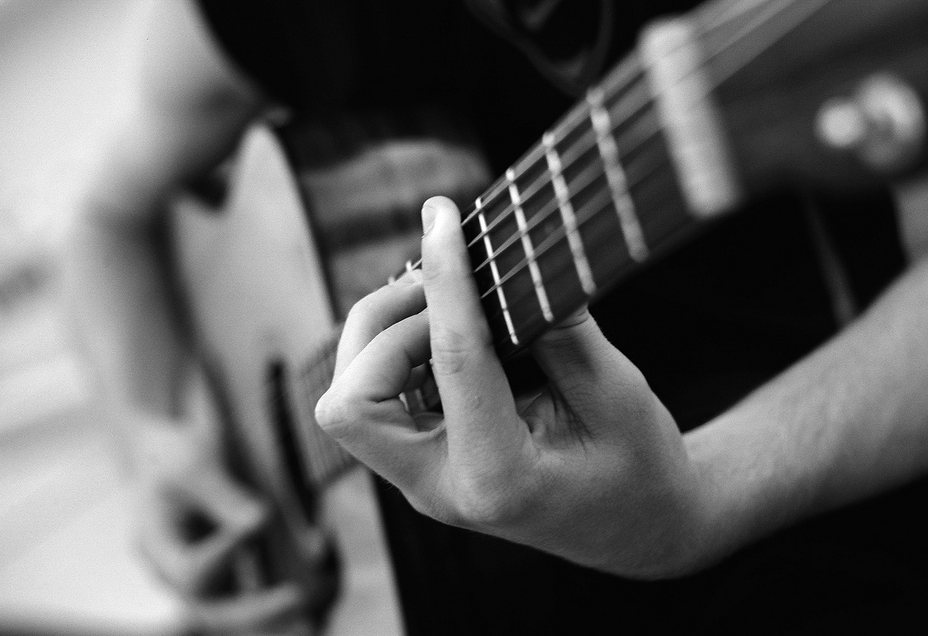
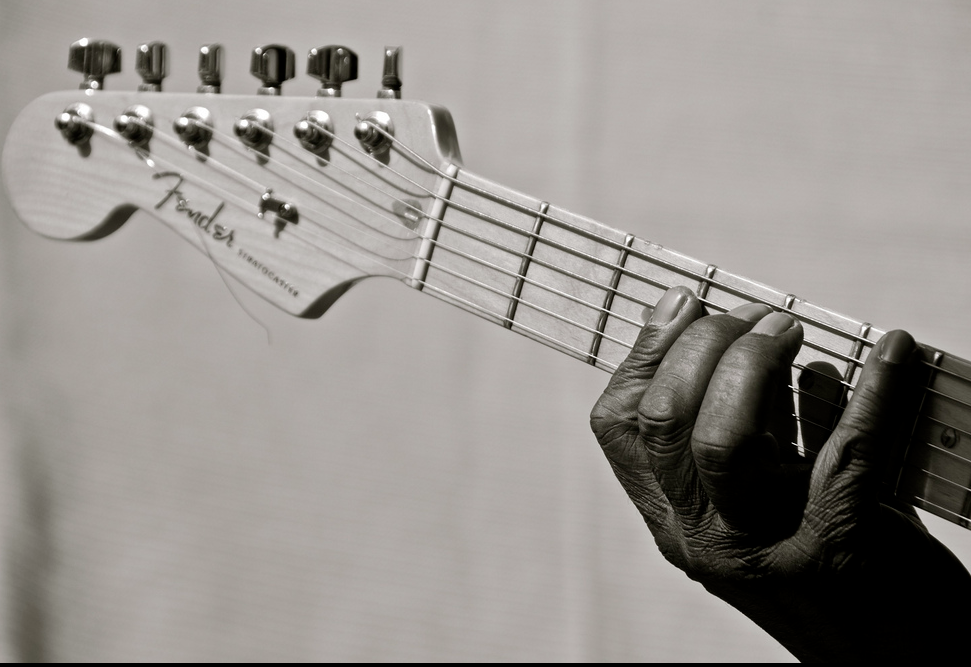
Hi. In our last lesson we looked at two barre chords, and in this lesson we are going to look at two more. Let's just do a quick review as to what these barre chords are.
Barre chords are basically chords where one finger presses down on multiple strings. But the upside, even though it's a bit of work, is they're very movable. You can slide them all around the
Neck, and move chords quite quickly. Let's look at the ones we learned. We learned root-6 major barre chord [Strums once] at the 1
st fret, and we learned a root-5 minor barre chord at the 2
nd fret [Strums once].
When we deal with just basic barre chords, there are four in total. That was two, let's learn the other two. First we are going to focus on some root-6 barre chords. Moment ago I mentioned that you can slide them around. There is a really famous
Chord progression that is used in dozens of songs, like for example
All along the watch tower,
Beat it,
Eye of the tiger,
Sultans of swing, list goes on and on. We're going to use these root-6 barre chords to play that chord progression.
Let's figure out our root-6 minor barre chord. [Shows the Root-6 Major
Barre Chord diagram] First we bring up our chord diagram here for the root-6 major. Again, the curved line on top, that represents your index finger barring. That is the major. If you take the 2
nd finger, and you just lift it of, that is how you make a minor. In the beginning it tends to happen that 3
rd string doesn't want to ring. However that is the most essential note in the chord, because that is what makes it sound minor. The way around that is to take the 2
nd finger, that is not doing anything, and push down on your barre. Give you a little extra support. [Strums once]. And also, with all barre technique, you want to make sure that you are not collapsing with the hand, or you're not flexing the thumb. You want the thumb not to really be perpendicular, but to kind of point down the
Neck. Again with the barre, you are barring on the side of the finger, not the flat part. The way you can help do that, is you bring your elbow towards your ribs a little bit, and you just kind of roll that finger on its side. [Strums once] That is our minor.
Here is how that chord progression goes. We're going to need 1
st fret, 3
rd fret, and 5
th fret. The 5
th Fret, let's make that minor [Strums once]. The 3
rd and the 1
st [Strums twice] . Those are majors. Let's do four strums [Strums four times] at the 5
th, we will do four strums at the 3
rd, major [Strums four times], and now we will do eight strums at the 1
st [Strums eight times]. So it sounds like…
- 1, 2, 3, 4 [Strums four times at the 5th fret]
- 1, 2, 3, 4 [Strums four times at the 3rd fret]
- 1, 2, 3, 4, 5, 6, 7, 8 [Strums eight times at the 1st fret]
So that is the basis of the chord progressions that are used in those songs I mentioned. And that is all root-6. As you can see, we are sliding them around. Of course, in the beginning, when you are learning these chords, it won't go that quickly. So, you might need to slow down the transitions. That is fine. The more you practice these, the quicker you'll get. More comfortable you'll become with them.
Let's look at our root-5 major and minor barre chord. Let's go back to the root-5 minor, [Shows the Root-5 Minor
Barre Chords diagram] and on the chord diagram you can see that the curve line is for the index finger barring strings 5, 4, 3, 2, 1. And the fingering is like that. [Shows the correct fingering on the
Guitar] When we learn our major, this tends to be most difficult of all the barre chords, so… Let's look at two different ways that we can do it. The first one is a little bit more difficult but is more versatile. In the first one, your 3
rd finger is going to do the barre. This is new. Your index finger will go back to playing just one individual string. The 3
rd finger is going to barre strings 4, 3, and 2. In this case, all at the 4
th fret. Technically, the bottom string should either be muted, or not strummed, it is not really the part of the
Chord, when we do it this way. But, if you end up barring it by accident, that is ok in the beginning. What is a little bit weird here is, you want to push onto your fingertips, so that it flexes like that. [Shows his finger flexing]. That is how you do the barre. You don't want to pull it around the neck. The reason that this chord is so versatile is, when you move it up the neck [Strums the chord on different
Frets, sliding], nothing really changes. All the fingers fit where they need to go. But you are barring with this difficult finger. And finger may be not as strong as the index finger.
Let's look at the other way of doing it. In the other way, you have three fingers pushing down on these strings instead of the barre, and index finger goes back to doing the barre. On the plus side, you get an extra string here [Strums once], because the index finger is barring the 5
th string, and the 1
st string. However, when you begin moving this up the neck, very quickly, like... I can't even fit my fingers in here. You may have smaller fingers or different size of
Guitar... Some people prefer one or the other. But generally, it is good to practice them both.
Let's practice the chord progression, this famous
Chord progression on the root-5's. We are going to start out on the 2
nd fret [Strums once], that will be a major, 4
th fret is major [Strums once], 6
th fret is minor [Strums once]. We will do the same orientation that we did with the root-6. We are going to do four strums of the minor up at the 6
th, four strums of the major at the 4
th fret, and eight strums of the major, down at the 2
nd fret.
- Here we go… 2, 3, 4…
- 1, 2, 3, 4 [Strums four times at the 6th fret]
- 1, 2, 3, 4 [Strums four times at the 4th fret]
- 1, 2, 3, 4, 5, 6, 7, 8 [Strums eight times at the 2nd fret]
You want to practice these exercises a whole bunch, just getting used to sliding up and down, on either root-5's or root-6's. We want to look at one more chord progression. This is probably most challenging one, because this is going to blend root-5's and root-6's, mostly majors and a minor chord. I am going to start out up at the 7
th fret, on root-5, that means 5
th string. Then I am going to go root-6 on the 7
th fret.. So that is 7
th fret, 7
th fret, root-5, root-6. Then I am going to go root-5, 4
th and then root-6 5
th. So that is 7
th fret, 7
th fret, 4
th fret, 5
th fret. The chords are going to go: major [Strums once], major [Strums once], minor [Strums once], major [Strums once]. It already probably sounds like the song you've heard, this is used in so many different songs. This is very old
Chord progression.
- [Strums the root-5 major at the 7th fret]
- [Strums the root-6 major at the 7th fret]
- [Strums the root-5 minor at the 4th fret]
- [Strums the root-6 major at the 5th fret]
This chord progression, as we were saying, is a little bit more difficult than the others. But I think over time, you'll get used to these chords. For some people, you will come to prefer them. That is generally the case with the rock
Guitar. Again, some people might say, well, I am aware of these, but I stick to my open chords. Whatever you do, it is good idea to practice them both. All guitar players have been through the period of when they were learning
Barre Chords, and it just feels like it is never going to happen. But it does. You just have to have patience, and accept that these chords usually take few weeks, sometimes months to really get comfortable with.
So, have some fun with it, experiment with some different
Chord progressions, change up the orders, the directions that you move. And when you start looking into songs, song lines, or through friends, or what not, you are going to see that these chords are really common. So, they are very important to know. Have fun with it, have some patience, and we'll see you in the next lesson.



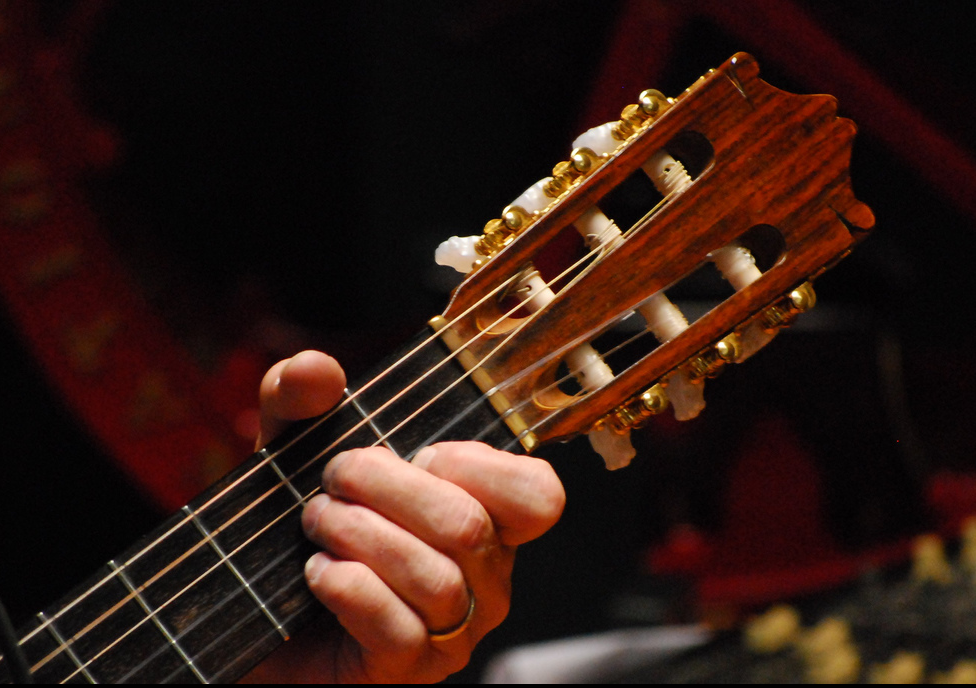
 3rd Finger (ring): 5th String (A) > 3rd Fret
 3rd finger (ring): Barre 2nd (B), 3rd (G), 4th (D) strings > 4th fret