By now, you’ve spent some time with your spider exercise, and hopefully you started to notice some improvements in your playing. You are probably getting a little bit of a calluses on your fingertips, your fingers are probably getting stronger, more agile, stretched out. Generally you are just getting used to playing the instrument. Hopefully you’ve also noticed some improvement in coordinating between the two hands, your right hand and your left hand, which are doing two totally different things. These things all are essential parts of guitar playing, and for that reason the guitar playing is very kind of mechanical exercise. If you think about it, as I play these notes here [Plays spider exercise], working on my spider, I am getting my ear used to this idea that, as I move this way [Points upwards], the pitches go down. If I go the opposite direction [Plays spider exercise in opposite direction], the pitches go up.
What we are actually learning to do at the same time, is playing melodies on the
Guitar. Melodies are series of notes, one after another. It is really like the tune. The melody [Plays a melody] is basically the song, that we all know. And melody playing is one great thing that the guitar can do. However, as you probably know, you can also play
Chords [Strums a chord]. Chords are like the other half of the equation. There is melody and harmony. Harmony is for accompaniment, rhythm guitar playing, so on and so forth. The point is that this instrument is really diverse, and it can do all these things. It is a wonderful instrument for that.
In order to take our playing, our learning to the next level, what we have to do is talk about the systems that guitar players have developed, in order to explain how to play this stuff. Where to put your fingers, in what order. There is basically three systems that are in use.
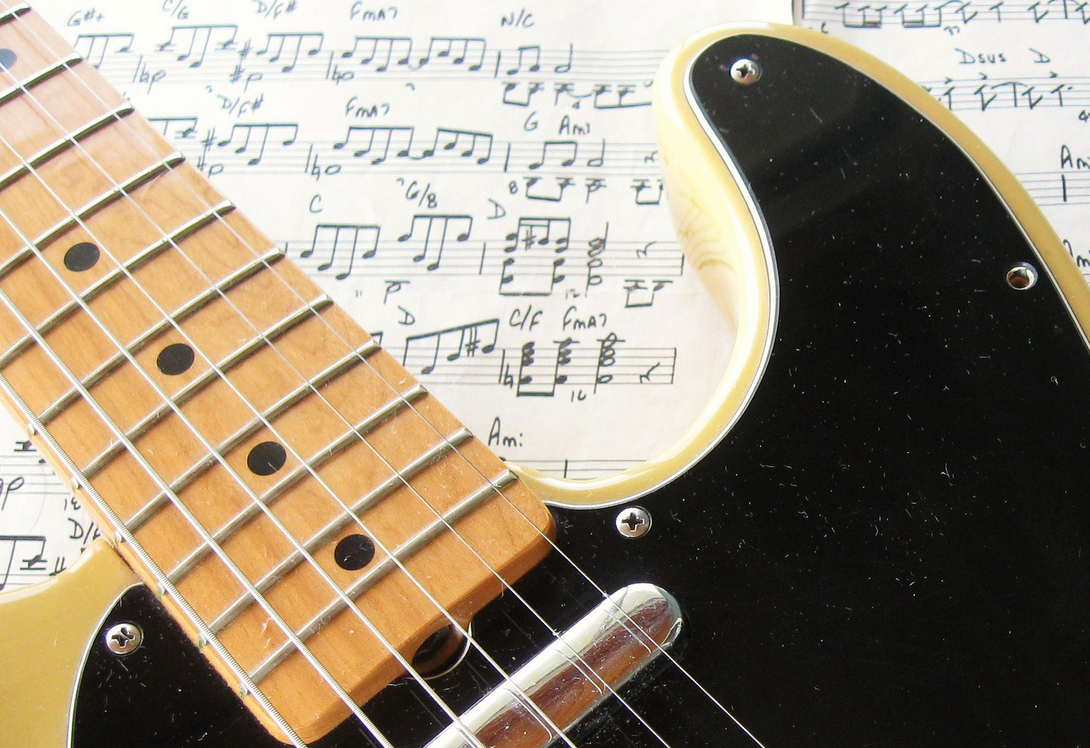
The first system is the standard music notation system. It is actually the system that all instrument use. It is a shared language, which therefore makes it a really great thing to know. It is something that we encourage you to develop, and to study, and we are going to have a lesson on it. But, on this website, we are actually going to focus more time on the other two systems.
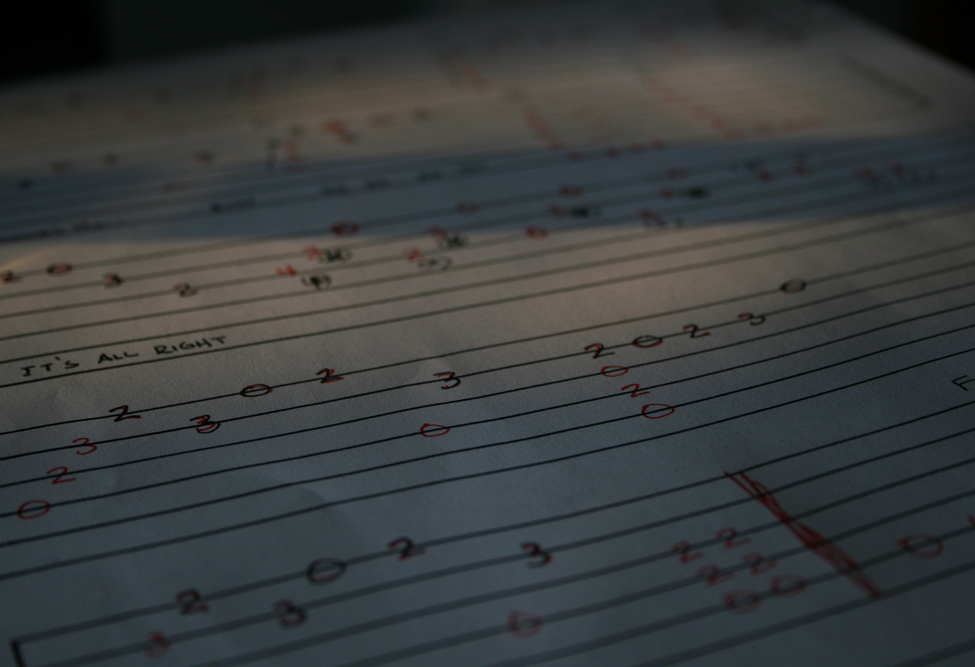
And those two systems are tablature, which is often called tabs. And chord diagrams. The reason is, they are developed specifically for the
Guitar, so that they explain all the particular things that are very specific to our instrument. They are also really direct, and effective ways to cut right to the issue of what you need to play, and what you need to know.
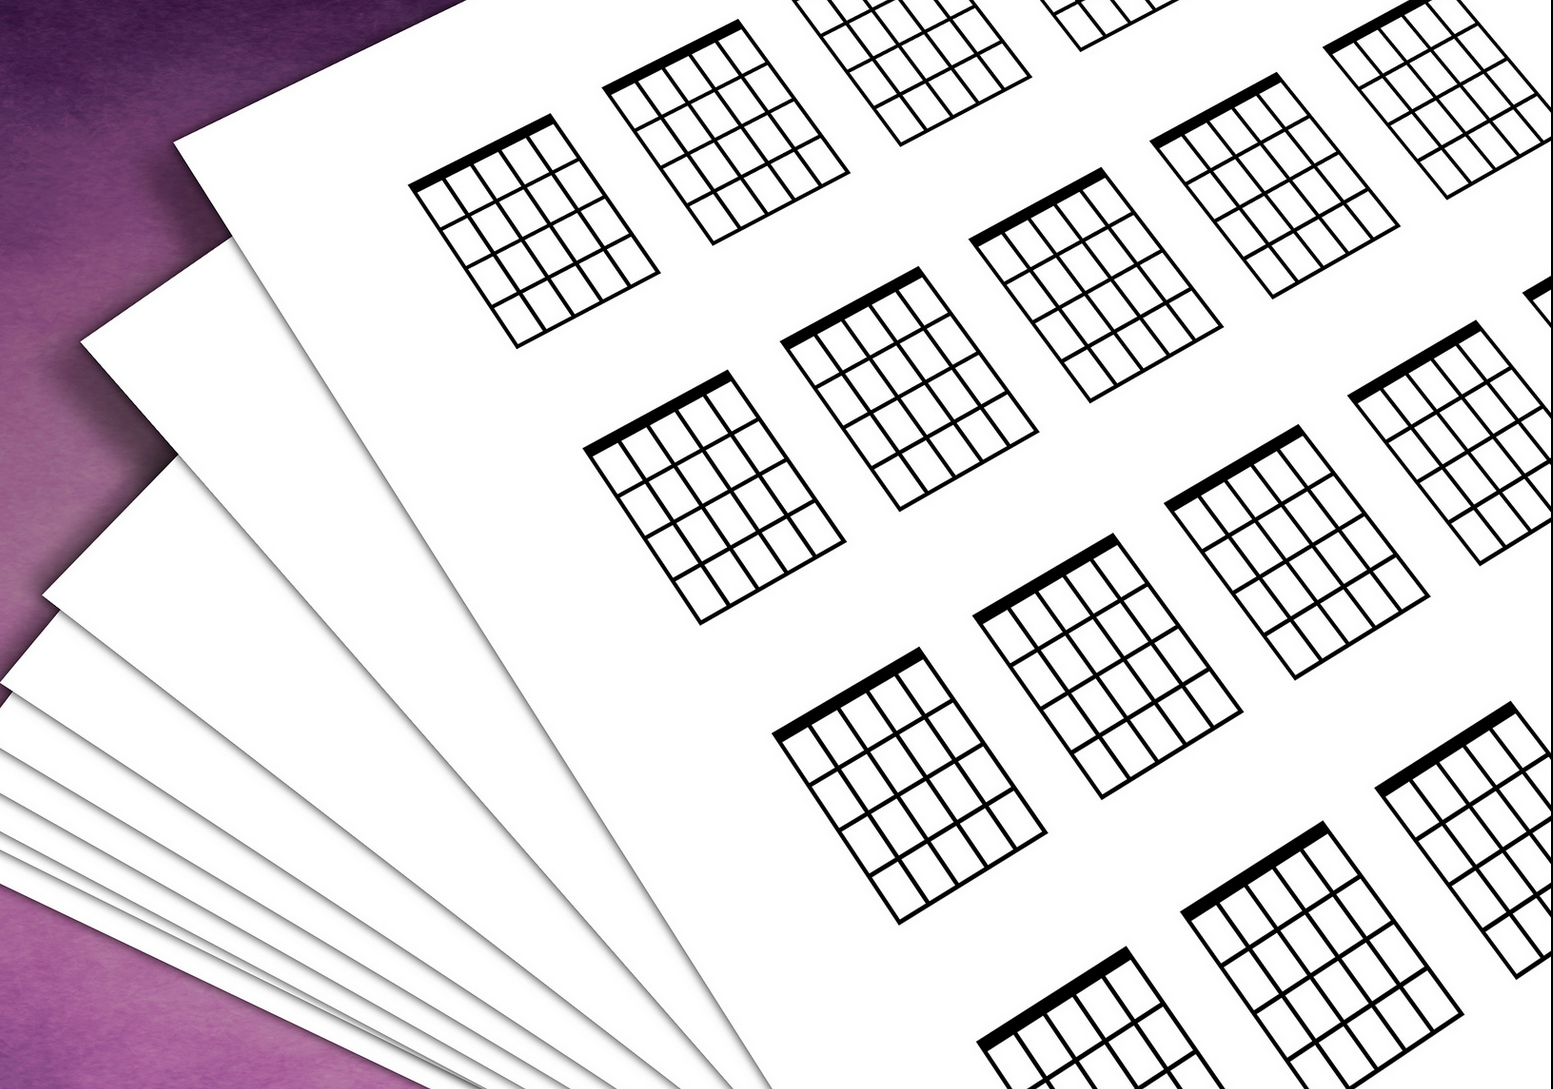
Very briefly, chord diagrams are graphical representation of the guitar
Neck. Usually this area up here [Points to the top part of the neck, closer to
Headstock (Head)], but it can actually cover all the neck. What you do is, you put dots on a grid, and dots are where you put your fingers. You can also express which finger goes where. The idea is, you place all your fingers where the dots are [Strums once], you strum, and that is your
Chord. Chord by chord, you get a breakdown of what to do. But, it is difficult to know how to play the chords.
For that reason tablature is excellent. Tablature can express chords just like chord diagrams, but it can also give you a better sense of the spacing of when to strum, and so on. What tabs can also do is explain melodies. It can explain which string and which
Fret you need to play on in order to play the melody of the song that you know. It is actually really diverse, as well.
Between chord diagrams and tabs, we are going to really get inside of how to use them, where you’re going to find them, instances that you’re going to want to take advantage of them. In the next couple of lessons we are going to dive in all this kind of stuff.