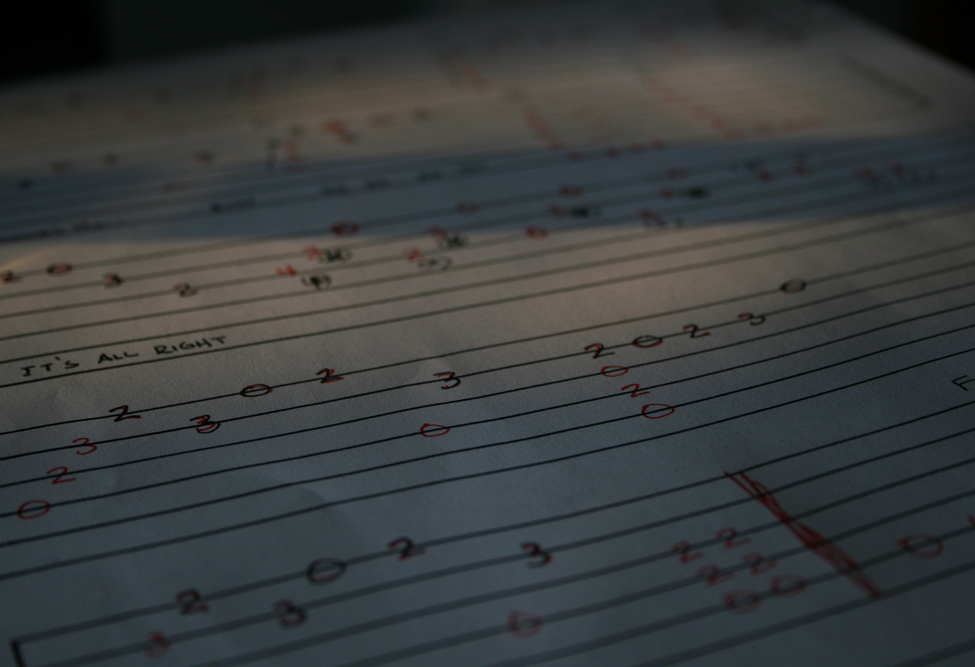
Now that you know how to read tabs, and read
Chord diagrams, we want to take the moment just to repeat our point. These are basically two different systems that more or less do the same thing. They tell you what to play, and when. They each have their pros and cons.
For example, chord diagrams - they show you all the proper fingers, and where to place everything, but they don’t really show you how to play the chord. On the other hand, tabs - they don’t give you much detail on what finger to use, but they show the sequence of events. The flow of the music. So, the two things can be excellent tools. Let’s take a closer look at how the exact same thing can be expressed in tab, and also on a chord diagram.
We are going to start with the chord diagram. The first chord we are going to look at, is actually the first one we showed you in a chord diagram lesson. [Shows chord diagram on the screen] Let’s do a quick review here. You’ve got this grid. The thick black line at the top, that is your nut. The two black dots, that is where your fingers are going to go. The numbers on the top, the 2, and the 3, that is your second finger, and your third finger. Those are for the black dots. And all those zeroes, those are
Open Strings. And you play everything, all 6 strings. [Strums once]. This is actually the E Minor
Chord. The musical sign for that is Em. Often times when you see the chord diagram, it has name of the chord with it. So that is E minor.
Now, if we wanted to put this same thing into tablature. [Shows tab staff on the screen]. Let’s bring up the tab staff. And before we do that, let us just take a moment to review some of the basics on the tab. The thing that always can be a little bit difficult to remember is the top line on the tab, that is the 1
st string of the guitar. The 1
st string on the
Guitar is the one closest to the floor. The tab lines, we go: 1, 2, 3, 4, 5, 6 from top to bottom. Let’s bring up our E Minor chord on the tab staff. You can see all those zeroes, and then you’ve got the two number 2’s. Those 2’s, that is the
Frets. The second fret on , in this case, the 4
th line and the 2
nd fret on the 5
th line. That means 2
nd fret on the 4
th string, 2
nd fret on the 5
th string. The zeroes are your
Open Strings. The fact that it is written in a column, all stacked on top of itself here, means you play it all at the same time [Strums once]. And we can also give it the title, Em for E minor.
The downside here, it doesn’t tell us what fingers we can use, but it is basically saying the same thing. [Strums once] Strum an E Minor chord. Tabs can do one thing that chord diagrams can’t do very well. This is to express a sequence of things. Perhaps a serious of chords, or we’ll give you an example here, how a little bit of a melody can occur between the chords. Let’s look at this example here [Shows tab staff on the screen]. We see this 0-3-2-0, and then an E minor
Chord, and then this 1-0-1-0-1-0-0, and then an E minor chord. Let us go through this real quick. The melody starts out on the 1
st string of the
Guitar, that is the top line of the tab. I go: open [Plucks the string], 3
rd[Plucks the string], 2
nd[Plucks the string], open [Plucks the string]. Now I play an E Minor chord [Strums once]. Now I continue with on a 2
nd string 1-0-1-0-1-0-0 [Plucks strings one by one], and now another E Minor chord [Strums once].
If you’d like to practice that, go for it. It’s kind of a complicated example, what we really wanted to do, is demonstrate that tablature can show some complicated things, that chord diagrams would struggle to express. Ultimately, tablature is a little bit more flexible, and it’s the system that you’ll probably use more than chord diagrams. It’s also the system that is widely available on the Internet. That is another major plus.
Since we are just starting out in the building blocks of guitar playing, it’s really all about chords, we are going to actually use
Chord diagrams for the next few lessons. If you have any trouble, remember just to go through the lessons, and familiarize yourself with the two different systems, until you feel comfortable, and then get forth into the next lesson.



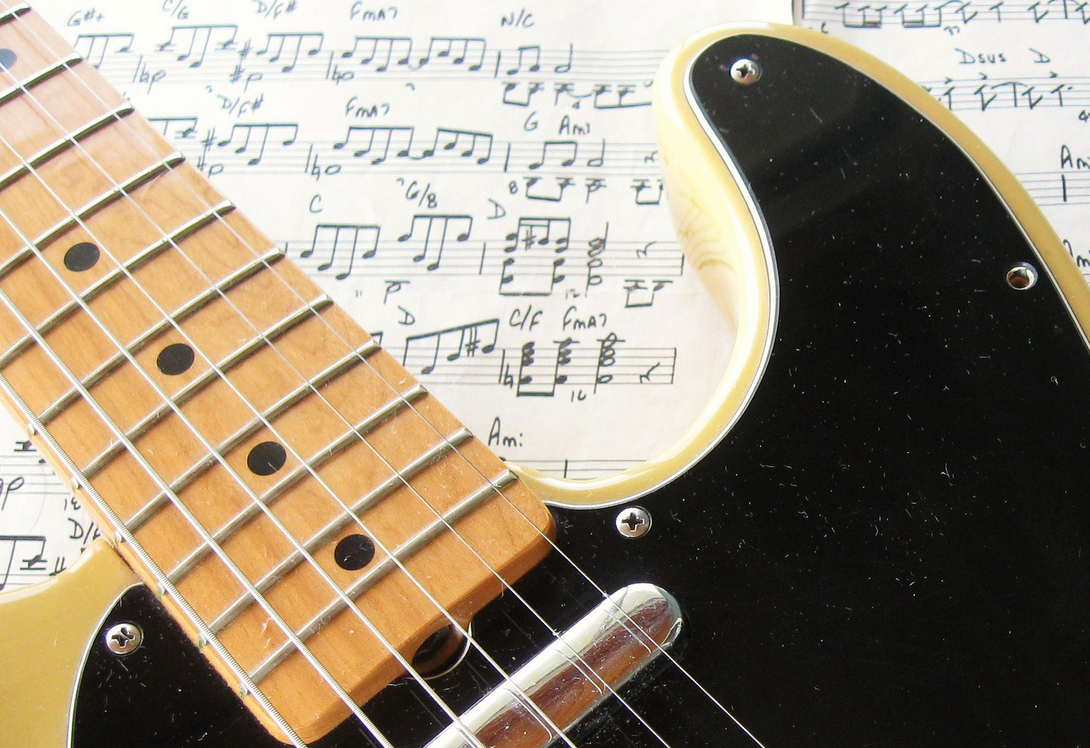
.jpg) A grid that gives you a snapshot of what strings and frets to press at a single point in time. Chord diagrams also tell you what fingers to use.
A grid that gives you a snapshot of what strings and frets to press at a single point in time. Chord diagrams also tell you what fingers to use. A set of six lines that tells you what strings and frets to press in a timeline format. Tabs can express both harmony and melody.