Now we are going to talk about something called chord diagrams. Sometimes, they’re called chord grids. Before we get into that, let’s take a moment to talk about harmony and melody. If you think back to the spider exercise, which was this finger warm up type of an exercise, as it goes like this [Plays spider exercise riff]. You go on and on from there. This is basically a sequence of notes. Note, note, note, note, and so on and so forth. In a way that’s kind of like what a melody is. A melody is a series of notes in a particular rhythm, and it gives us certain sound. I could take spider exercise, and fancy it up, change the rhythms, and it might sound a little bit better. More melodic. [Plays fancy spider exercise riff]. Or whatever. So, this is a melody.
Harmony: Harmony is often when you basically push down a couple of different strings, some times with a couple different fingers, sometimes with all of your fingers, and you strum the strings. For example... [Plays an harmonic example]. Harmony is basically
Chords. And chords are, more or less, when you put a couple of different fingers down, sometimes it is just one, but you grip the guitar in a certain way, and then you strum.
So, in order to explain how to put your fingers down, where to put them, what fingers to use, guitar players have come up with this system, that we call chord diagram. It’s a great system. Let’s get into using these things, and explaining what they are. The first thing is, when we play
Guitar, normally, we just sit with the thing on our lap, and that goes out like that. Chord diagrams, the first thing that we have to get used to seeing is that it’s like you are looking at the guitar like this [Turns the guitar vertically], which is a little bit weird, but let’s bring up the chord diagram on the screen, and we’ll explain this.
[Shows chord diagram on the screen]
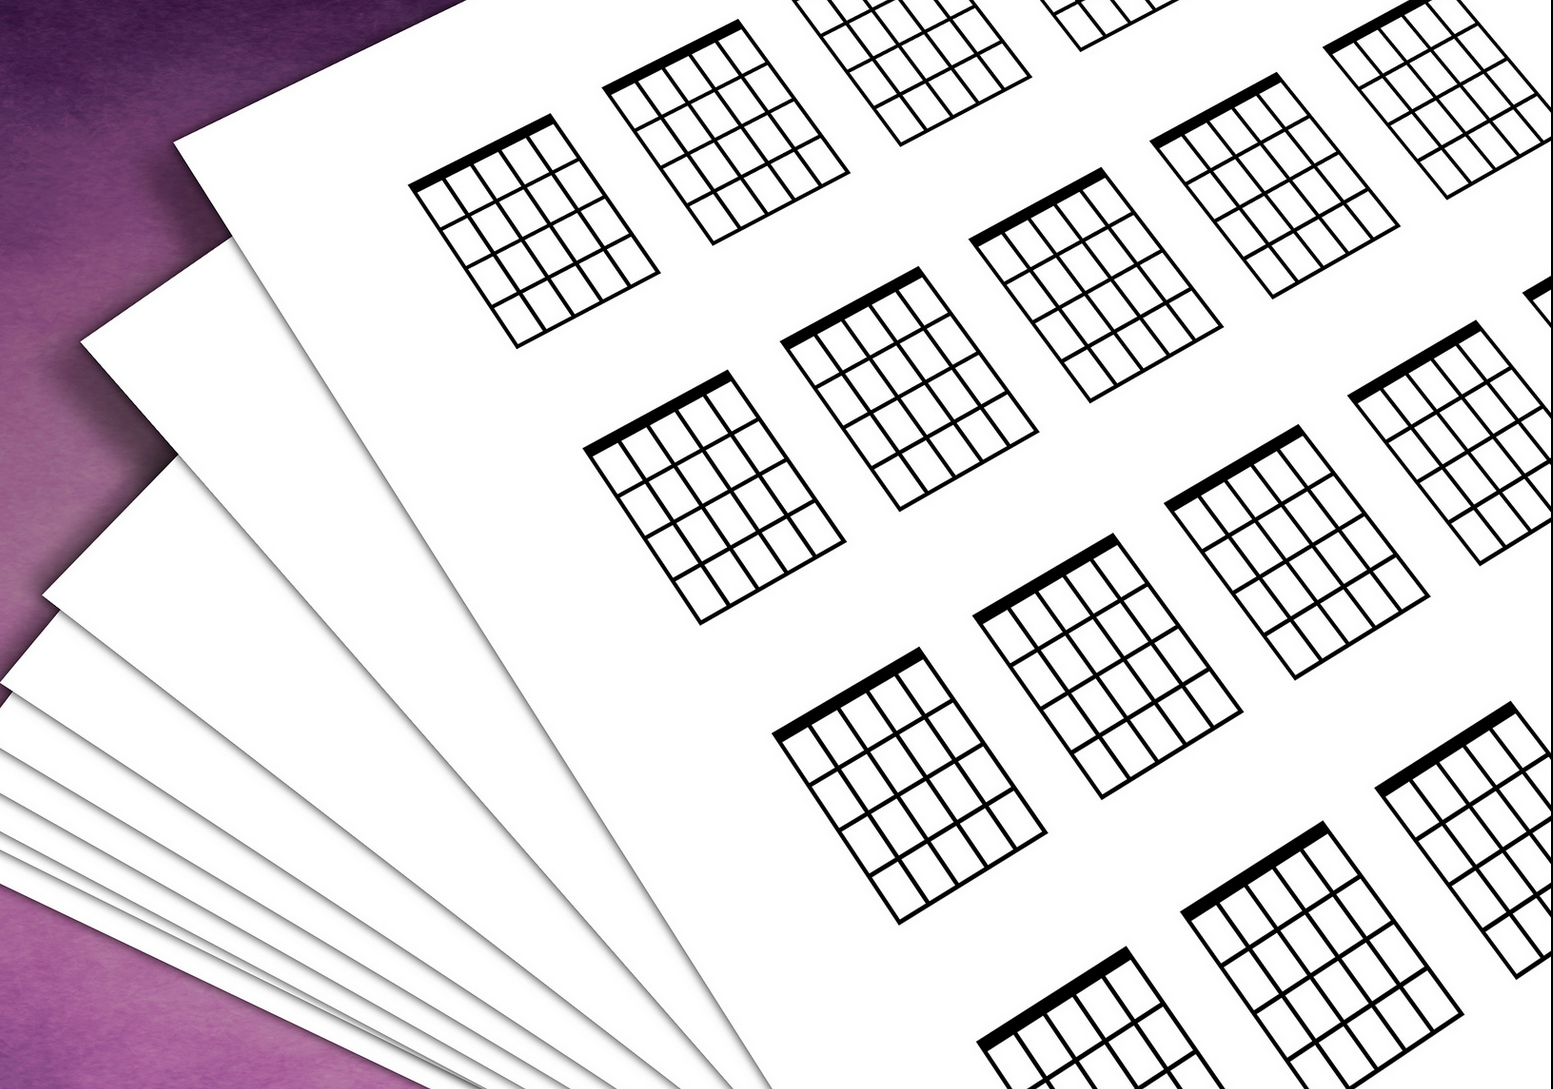
Figure 1 shows us a blank chord diagram. It looks like a box, like a grid with the thick black band at the top. The thick black band is the
Nut of the guitar. That is the plastic or bone piece of material up here. [Pointing to the top of the
Neck]. Underneath it we’ve got
Frets on our guitar, 1
st fret, 2
nd fret, 3
rd fret. The horizontal lines, those are your frets on the chord diagram. Strings on the guitar, of course they are 6, 5, 4, 3, 2, 1. The 6
th string is the thickest. On the chord diagram, those are your vertical lines. Every line is the same thickness, so you just have to remember, that the vertical line that is farthest to the left, that is your 6
th string. So, this is our blank chord diagram.
Now I am going to play the
Guitar like I normally would. And we’ll explain how to use these things. [Shows chord diagram on the screen] Figure number 2 is a chord diagram with a black dot , and a number 2 above the nut. The black dot is where I am supposed to press down, and the number 2 is what finger to use. It’s telling me to use my second finger to press down where that black dot is. That is at the 5
th string, on the 2
nd fret. Here is our 5
th string, and I will put my finger right there where the dot is. If I go ahead, and I play that note [Plucks the string], it sounds like that.
[Shows chord diagram on the screen] Figure number 3 - we see two black dots. They’re right next to each other, and above the
Nut you see number 2 and number 3. So, basically I am going to add a note to the one that I already have. It is going to be right next to it, on the 4
th string here, and I am using my 3
rd finger. If I play those two notes together [Plucks the strings], it sounds like that. That is how a chord diagram works. When you see those two black dots, you play them at the same time. Not one after the other, but together.
[Shows chord diagram on the screen] In figure number 4, we see the same two black dots in the same position, but now above nut, you see whole bunch of zeroes (0). What a zero means is the open string. So, what this diagram is basically telling me is that I put the two fingers down where those black dots are, and all those zeroes, those are the
Open Strings, that means I am going to strum all six strings. [Strums all sic strings]. And that’s a
Chord. So, that is figure number 4.
[Shows chord diagram on the screen] Let us look at the figure number 5. It kind of looks like the same thing, but if you look closely, you’ll notice that the two black dots have been moved over. On a
Guitar, maybe you think about them moving down. If we just dealt with these two black dots, and play them together, it sounds like that. [Plucks two strings]. And again, it is not one then the other, it’s together. If we compare the sounds, it is a pretty big difference. Even though something on a diagram may not look like there is much that’s changed, these small changes actually amount to really big differences in the sound.
[Shows chord diagram on the screen] In figure number 6, we see this chord fully flashed out. We’ve got zeroes on the strings 1, and 2, and 5. You’ve got the two black dots, which is telling me to play the fingers number 2, and 3 on the strings 4 and 3 at the 2
nd fret. What you also see is a “x” above the 6
th string. And x means, don’t play that string. With your right hand, you have to be careful not to get this string ringing. Again,
Chord diagrams - it is like a snapshot of what to do with your left hand, it doesn’t tell us if I am supposed to strum slowly, or fast, or upwards, or downwards. It just tells you what fingers to use, where to push down.
An exercise that you can do both for reading the chord diagrams, and just for chord practice, is to practice between these two chords. I will put my two fingers down, maybe strum one time, move them over, strum one time. Maybe I will practice 4 strums for each one. So on and so forth. A little detail here is, when you start out, this is always what happens. We put one finger down, get it into place, carefully put your other finger down, you go to play the chord, maybe some of the notes don’t ring. Don’t worry about that for now, we just want to get our fingers in place, and then when you switch chords, we tend to release the fingers, and then put them back down again. That is ok for now. But, when you practice this, then you get more familiar with these techniques, and it starts feeling good, try practice moving both fingers at the same time. If you can, like If you have any fly away fingers, see if you can control them. When you move, see how small you can make the movement. You know, you wouldn’t want a huge movement, but again, these are all details that take time.
This is important technical stuff, but the main thing is understanding the chord diagram.
Chord diagrams are super common. The songs that you’re going to want to learn, and we are going to show you, we are going to use these things all the time. So it is really important that you be able to understand how to read them, and what you’re looking at. Sometimes, people like to rotate the paper, if it’s awkward to look at the
Guitar, as if it’s like this (Turns the guitar vertically], but you are actually playing it like that. Whatever you need to do, just make sure that you get yourself familiar with these chord diagrams, because the most common chords in guitar, they can all be written now in chord diagrams.



 Sometimes known as a “chord grid,” this is a chart that is used by guitar players as a snapshot of where to put their fingers to play multiple notes/strings at once at a time.
 Chord Diagrams are displayed like the guitar neck is being held so it is pointing into the air. Lines that run from left to right represent the frets on the guitar. Generally, the top line represents the nut unless there is a number outside the grid that indicates otherwise.
 Lines that run up and down represent the strings of the guitar. The farthest line on the left represents the 6th (E) string. The line on the right represents the 1st (e) string.
 Notes Chord Diagram 2nd finger > 5th String (A) > 2nd fret
 2nd Finger > 5th String (A) > 2nd Fret
 Stings that have the number zero (0) on the top of the chord diagram represent open chords.
 Lines with an “X” over the top of the chord diagram represent strings that you should not play.