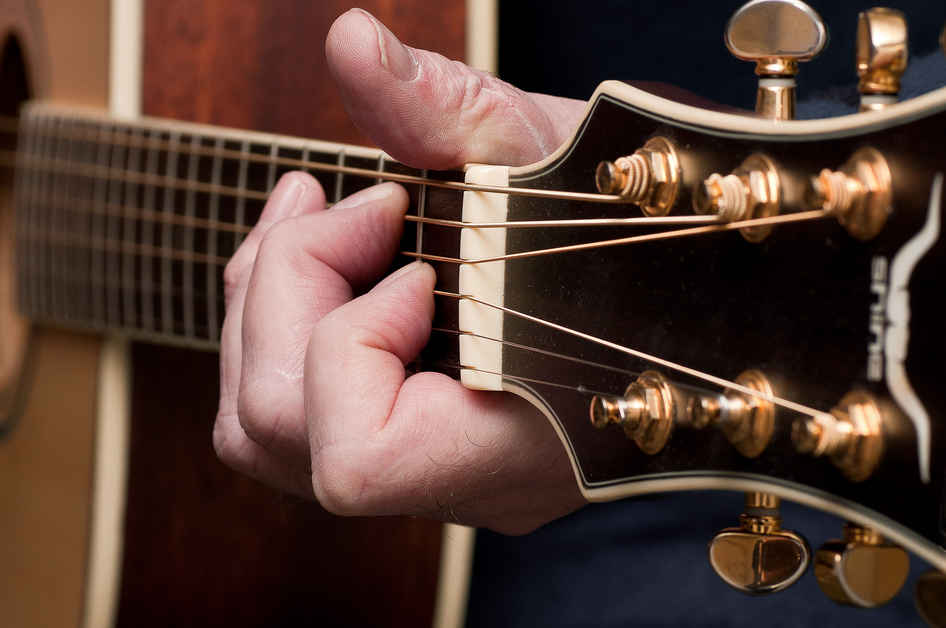
Let’s talk about transitioning from
Chord to chord. Or basically switching chords. This is always a very challenging subject. In order to really do this, we got to learn some more chords. We are going to start out with 2 new chords, the E major chord, and the A major chord, but everyone just calls them E and A.
We are going to bring up the chord diagram here of our E chord. [Shows the E major chord diagram on the screen]. You’ll notice we’ve got these three black dots, and two of the black dots are in the same position as the E minor chord, that we were learning few lessons back. That is the 2
nd and 3
rd finger, and these are at the 2
nd Fret on the 5
th and 4
th string. And then, you are going to add that one index finger note on the 1
st fret, the 3
rd string. And we are going to play it. [Strums once] Sounds great. I love the E chord. This is the first chord I played, and I was like... I must play
Guitar. When you actually go to finger this chord, you might want to out your pointer finger down first, if that works for you, and put the other two down afterwards. That is great. Make a note to yourself, hey that helps me, because you can build upon that. That is our E chord.
Now we are going to learn the A
Chord. The A chord [Shows the A major chord diagram on the screen] - let’s look at our diagram chord - visually is kind of three notes right in a row, right across the 2
nd fret. The fingering that we have up there, is the one that is easiest for all people, regardless of how big or small your fingers are. Let’s try this one here. I am going to start out with my pointer finger, because the pointer finger tends to be the easiest one to use. And that one goes on the 3
rd string, 2
nd Fret. So I put that there. Now, I am going to take my 2
nd finger, and put that on the 4
th string, it is going to almost go on top of it. I am going to be touching the fingernail of the 1
st string. And now I am going to squeeze my 3
rd finger in, on the 2
nd string. So it is kind of like clump at notes, but if you have big fingers, like I do, it makes it a lot easier to play. And notice, there is an x on this chord, no 6
th string. Just bottom five strings. So let’s play this one [Strums once]. That is our A chord. If you prefer, you want to take 1
st finger, and 2
nd finger, and flip flop them, so that the fingers are like - 1, 2, 3 - right in a row. If that works for you, and you can fit them all in there, great!
That is our A chord and our E chord. Let’s talk for a second about switching from chord to chord. When you start out, basically we want to put down the chord, and then you are going to want to release all the fingers, and move to the next chord. And it can make you switching a little bit slow. Here is a couple of things. If you are in your E
Chord [Strums once], and you want to go to you’re a chord, notice that if you use this fingering - the first one I showed you - you can take your pointer finger, and just slide it up, and now bring the other two fingers into the position. That sliding move will speed up your switching a little bit. Anytime you can find little tricks like that, you want to use those.
First exercise we should do, is just to practice strumming four E’s, and then four A’s. Kind of slowish...
- So, one, two, three, four.
- One, two, three, four.
- One, two, three, four.
- One, two, three, four.
- One, two, three, four.
If you are like most people, what happens is, you get the first chord [Strums four times] And then like... ok, slow down... I got it... [Strums four times] Give me a minute... This is totally normal, and in fact I say go for it. We, at strum school think, you got to have fun. That is why we are all here.
Guitar is amazing. So, have fun with it. If you want to go [Strums really fast]...switching... switching... Got it! [Strums really fast] Fine! That is cool.
But, in order to develop your guitar playing, and become a better player, you really have to think about the rhythm. Keeping the pacing nice and even. So, if you have to slow it down to really, really slow, and do like two strums for each
Chord, that is what you do. And try to keep the rhythm the same. Something like this [Strums slowly]
- One...
- Two...
- One...
- Two...
- One...
- Two...
Notice that when I do my transition, I just let go the chord, so it doesn’t sound that great, and there is like dead space between the chords, but the rhythm stays steady. Therefore, when you build this up faster and faster, your fingers are going to move more efficiently, and your switching will be a lot better. Take patience... Or I should say, take your time, and have patience with this one, this is always difficult for everybody. But, remember, we have four chords now. We’ve got E and the A, and then we’ve got that D and the E minor.
So this is a lot of different work for your fingers, try using them all. Different combinations... Write them on a piece of paper, and see if you can switch from chord to chord, and go fast if you want, but also figure out how slow you need to go, so that they can happen in rhythm. And then, keep tracking your progress. As you get better, you’ll notice that you are able to go faster, and keep the switching in rhythm.




 2nd Finger (Middle): 5th string (A) > 2nd fret
 A Major Chord Diagram 1st Finger (Pointer): 3rd string (B) > 2nd fret
 Open E Major ChordStrum E-Major (E) chords four times in an slow and even pace.
 Open A Major ChordStrum 4 A-Major (A) chords four times in an slow and even pace.